Ever noticed how most of the commercial Android emulators are seemingly stuck at KitKat? Sure, there are a few that run higher like YouWave 5.1, Genymotion, BlueStacks N, etc. but they all use VirtualBox and, as we have found out, VB sucks when you compare it with the big players. So you’re better off with making your own emulator. “How” you ask? Well that’s what we’ll be covering today!
If you don’t know the wonderful people at Android x86 –who are the real spirit behind all the commercial folk- go there and check ‘em out. Anyway, what’ll we will be doing today is installing Android on a VMware Workstation VM (FIY: VMware > VirtualBox 🙂 ), but if you have a slow PC (2GB> RAM, Old CPU etc.) go with installing Android on your native hardware, it’ll be lots faster than running a VM on that junk. By the way; all the commercial emulators are really Android VMs anyway, so you’ll be installing a better version of Android than those emulators ;-).
However there are a few prerequisites before you make an Android Emulator. You’ll need a processor capable of hardware virtualization (Intel VT-x / AMD-V), a host PC with 3GB or more RAM, 20GB free disk space (a desktop with multiple drives (or an SSD) or a laptop with an SSD is recommended), VMware Workstation Player or (VMware Fusion if you’re a Mac user), a (32-bit) distro of Android x86.
When you get VMware Fusion or Player: the latest version 14 (Player) or 10 (Fusion) requires a Sandy Bridge (Intel Core-i 2nd Gen or better) OR AMD Bob Cat or better processor. If your machine doesn’t meet these requirements, you’ll have to use Player 12 or Fusion 8 instead.
|VMware Workstation Player |14| |12|
|VMware Fusion |10| |8|
Picking a good, stable distro of Android x86 is of paramount to the success of this mission. If you would like to pick manually, keep in mind that you’ll need to pick one that is stable (in “Release” stages), and has proper hardware acceleration features. But to make your life painless, I’ve picked the best ones for you (all these are 32-bit (except the PhoenixOS one) ISO installation images):
|PhoenixOS 1.5 (Android L 32-bit) | PhoenixOS 3.0 (Android N 64-bit)|
Now that you’ve gotten all you need, let’s start. First, install the VMware product. Next, check whether you have an SSD, and check how many disk drives you have (by going to DiskManager), if you have no SSDs but have more than one Hard Drive or if you’ve got one SSD, you’ll see some major performance perks. But if all you’ve got is one Hard Drive, you may attempt to make the emulator, but keep in mind that speeds will decrease.
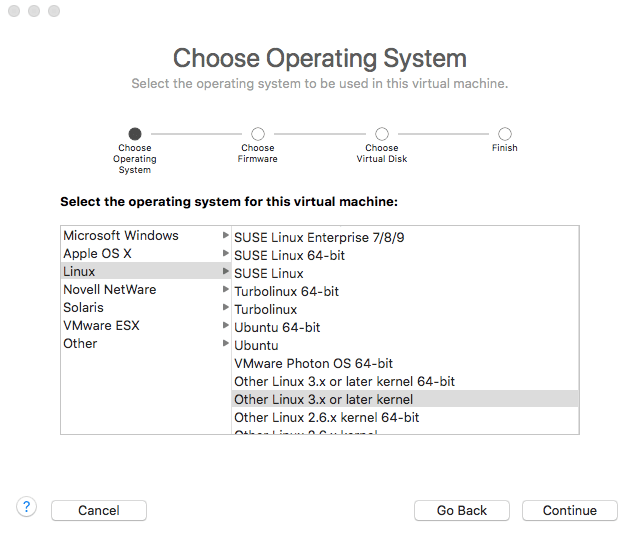
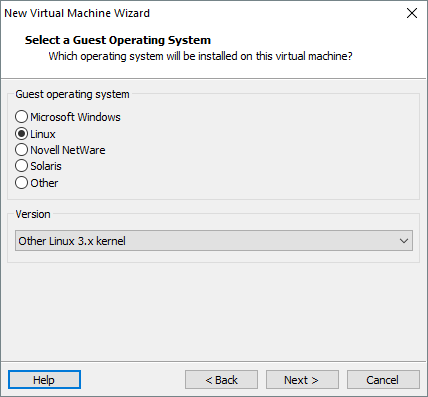
Open VMware Player/fusion and create a VM with the following characteristics: Guest OS “Linux 3.x kernel”,
1.5GB-5GB RAM (As a rule of thumb, leave at least 1.5GB of RAM for the host operating system and allocate the remaining amount to the VM),

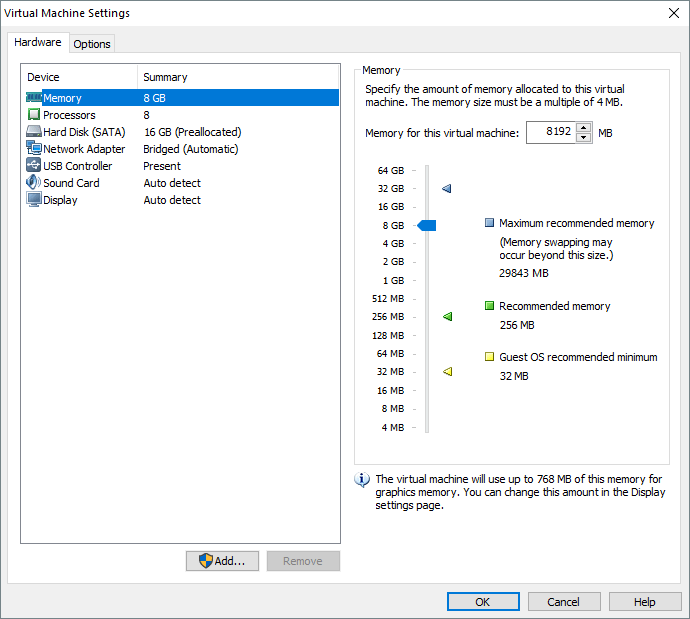
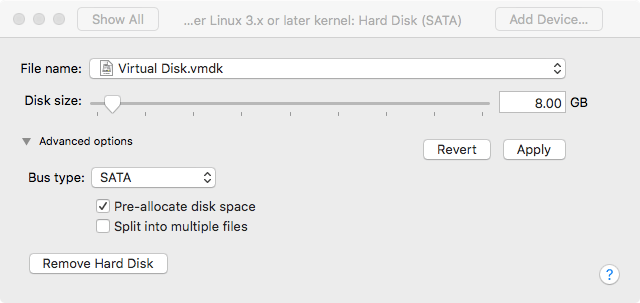
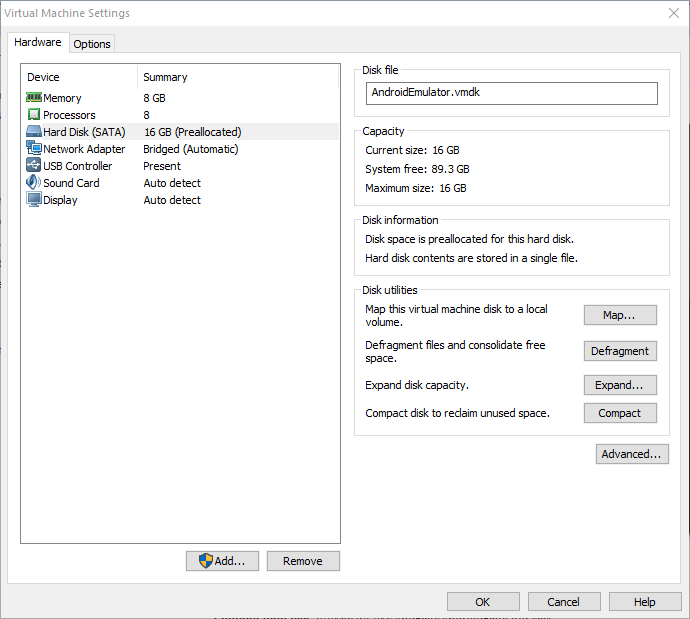
16GB (Pre-Allocated) SATA Drive (if you happen to have multiple hard disk drives, place the image in a non-system drive OR on an SSD if you have one. But never on an external hard drive, unless you use a Thunderbolt port),
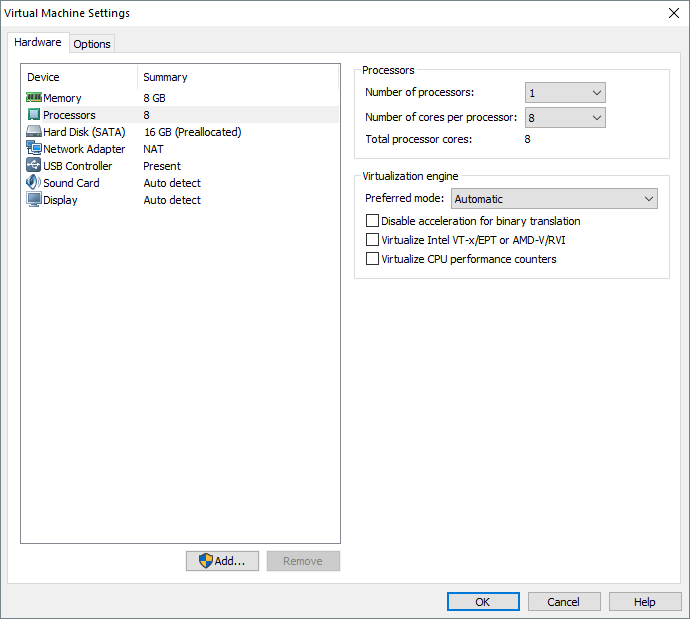
2 or more Cores/Threads (the core count is really not a problem, the more the merrier! Just make sure you leave at least one Core/Thread for the host OS. Since most newer PCs have 2 Cores (and at least 4 logical cores/threads thanks to HyperThreading), allocate 2 Cores to the VM).
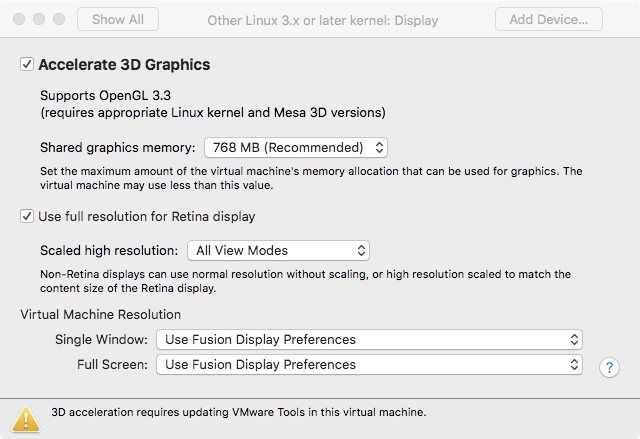
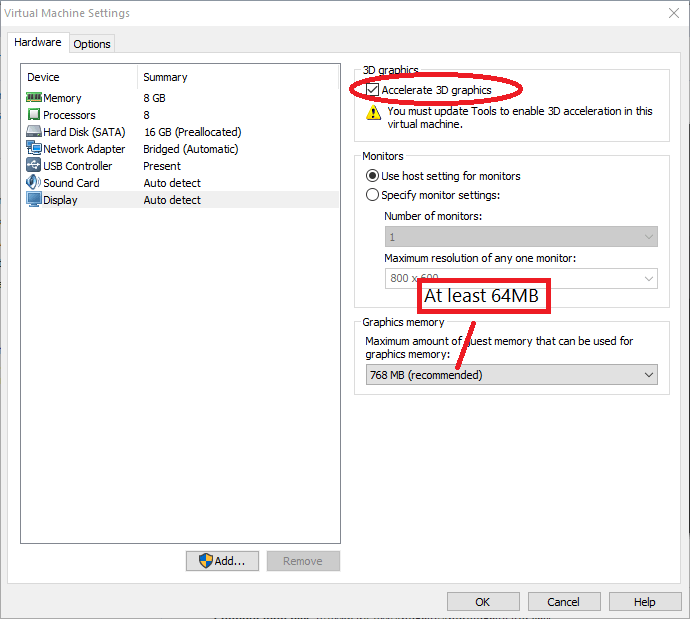
Once you create the VM, head over to display and enable “Accelerated 3D Graphics” and assign 64-256MB of “Graphics Memory”.
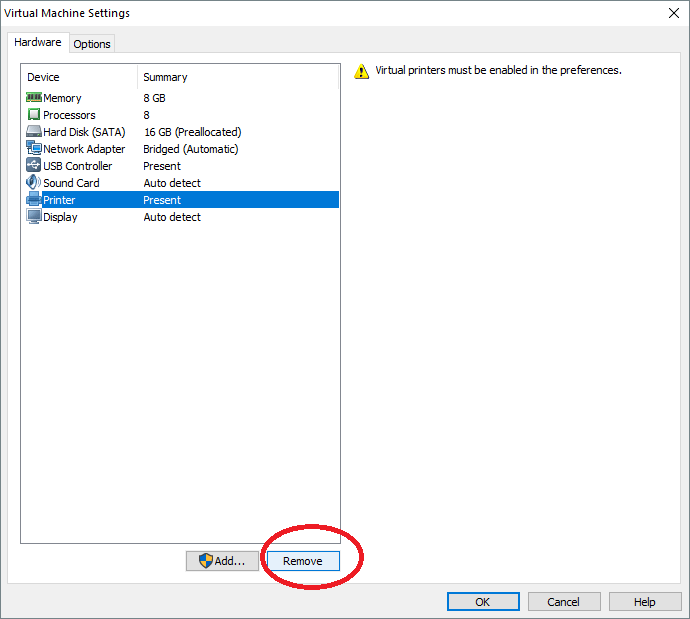
Remove the printer.

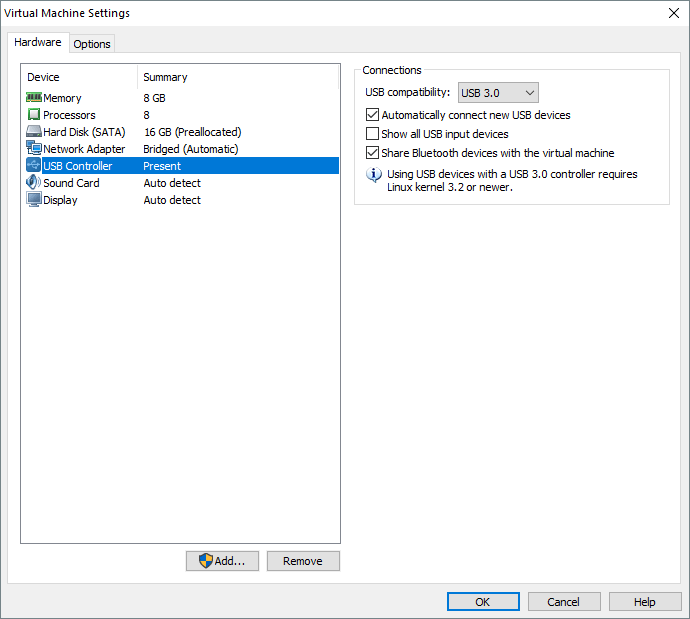
Set USB driver to “USB 3.0”
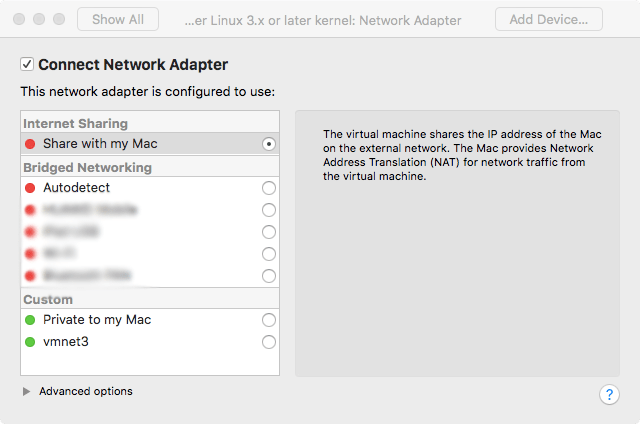
Set network adapter to NAT (for Internet access) and set it to “Connected at power on”

Attach the Android x86 ISO, power-on the VM and install Android x86 according to the instructions here. But remember not to select “Run Android x86” and instead select “Reboot”. When you reboot to the GRUB screen, power off the VM.
Remove the CD Drive from the VM. And power it on. You may switch to full screen mode. After a few minutes you’ll be presented with the setup screen. Go through the setup normally.
When you are greeted with the Android home screen, you’ll know it’s all done! Enjoy 🙂
In order to maximize performance, boost productivity and enjoy the damn thing, you may follow these steps.
Get/Enable Taskbar (if you’re using Android 6.0.1 or CM 13.1) and enjoy desktop-like Android computing (with windows and stuff).

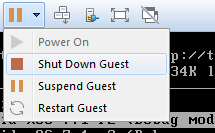
There is no shutdown button in AOSP android, so Taskbar’s “Power Menu” will come in handy when turning it off.
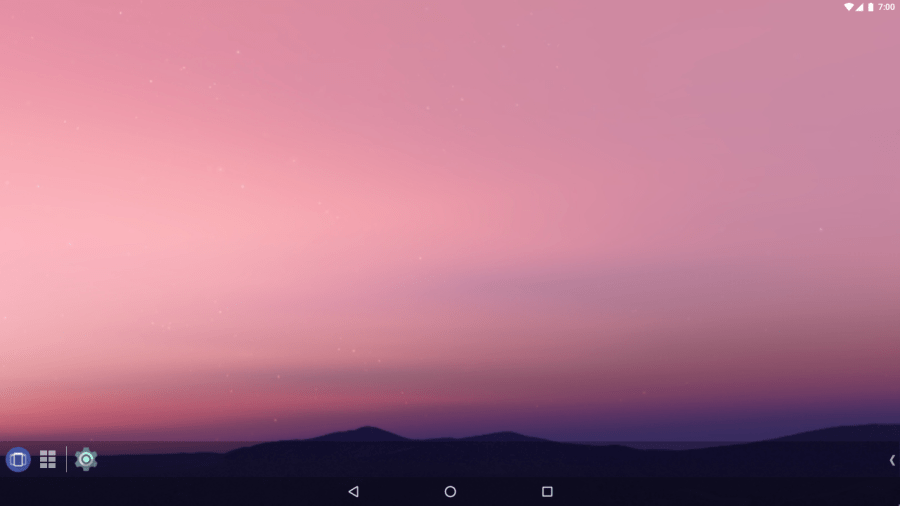
Go to “About” and see if graphics are accelerated (if there’s anything except “null” and “SwiftShader” in GL Renderer, you’re set).
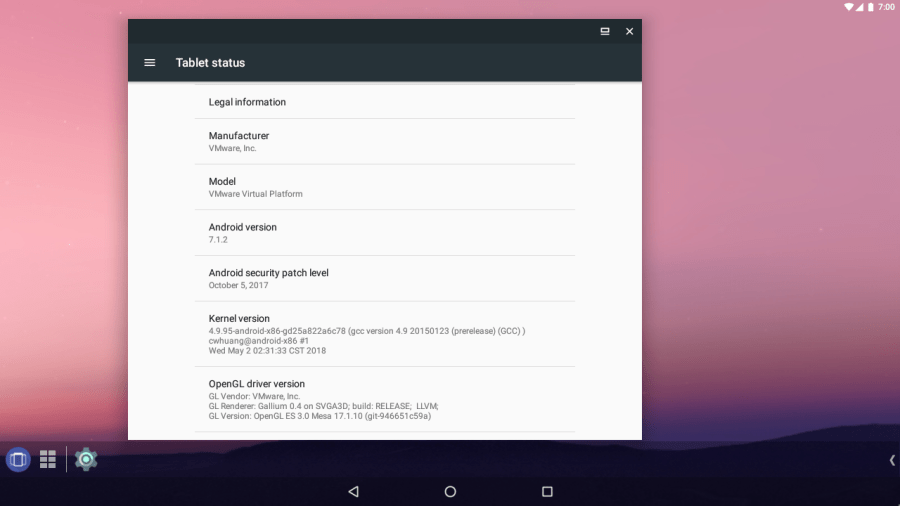
Enable “Developer Options” and lower or disable animations.
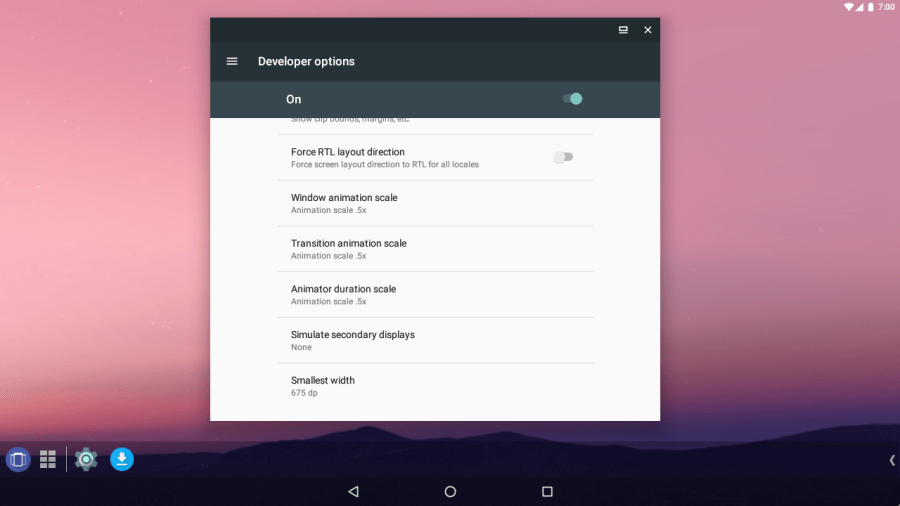
Set the screen timeout to 30 minutes to avoid unwanted sleep in the VM.
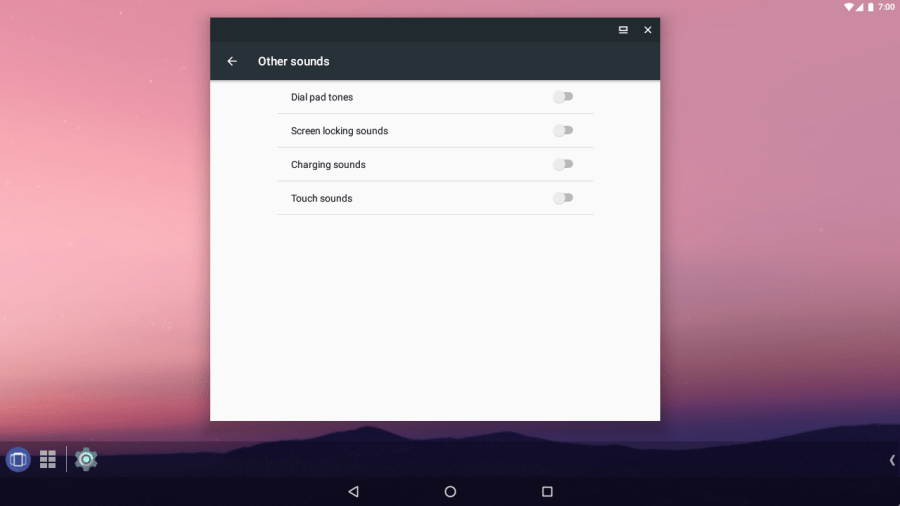
Disable “Other Sounds”.
Obviously you won’t be making any calls with your VM. Disable useless apps.
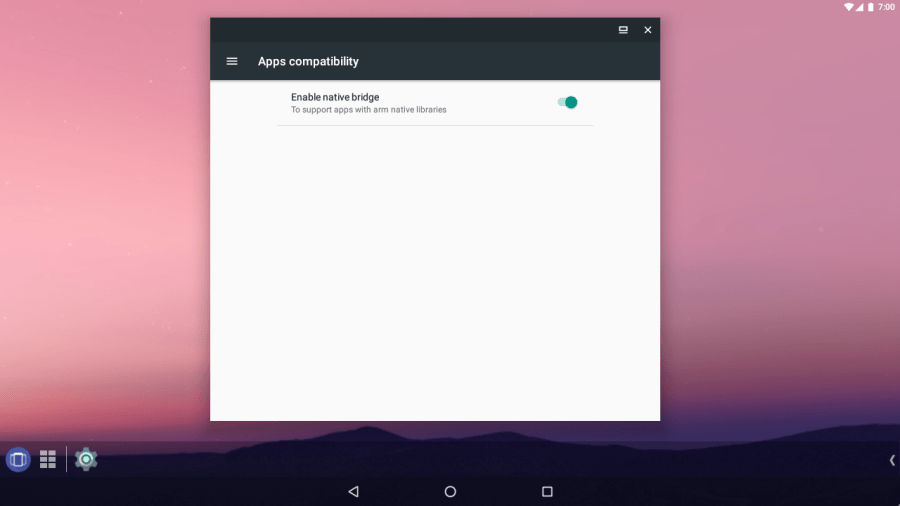
Enable “Native Bridge” to run apps with ARM Native Libraries (Settings > App Compatibility).
Use ADB to install APK files. Here’s how to make ADB work in a VM.
Install Greenify and hibernate apps frequently to avoid performance issues.
EXTRA
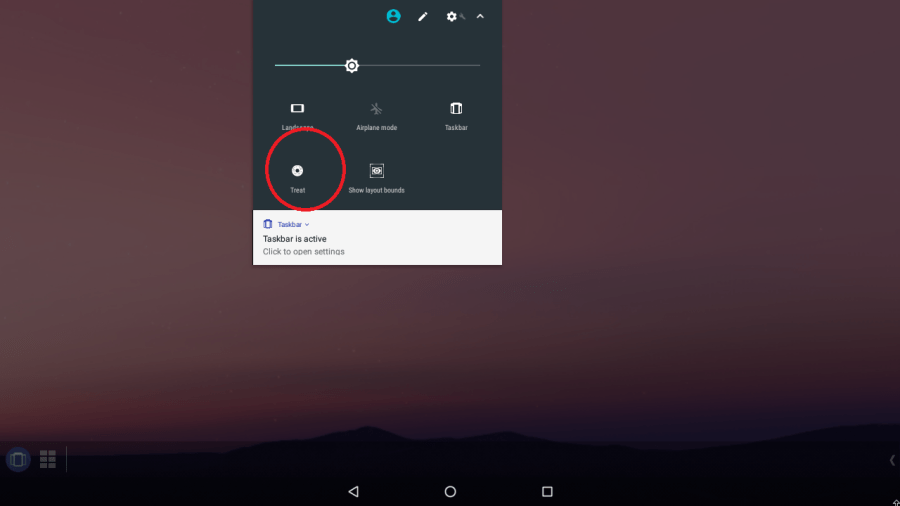
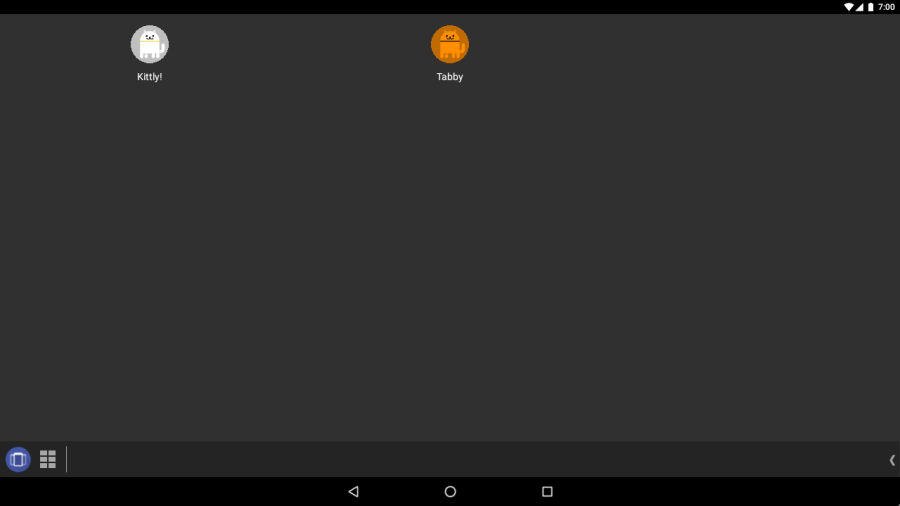
If you used Android N (7.0), and you’re a cat person, enable the “Neko Land” easter egg. Go to settings and tap on Android Version until an “N” appears.
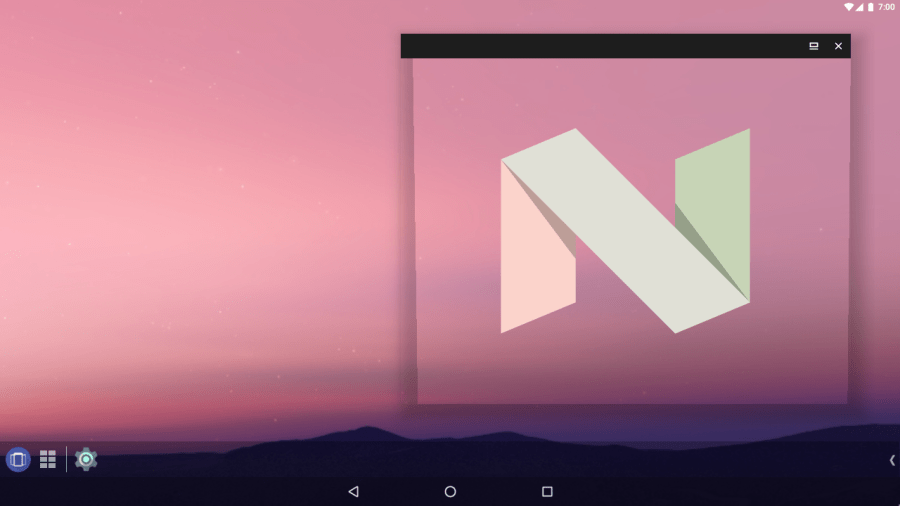
Tapping it a few times and then pressing ad holding it will bring up a small cat. A widget will appear with an empty dish (in the pull-down panel or as a launcher widget). You can tap that dish and keep “food” in it.
After a while, a cat will come to eat the food. There are hundreds of cats to find!
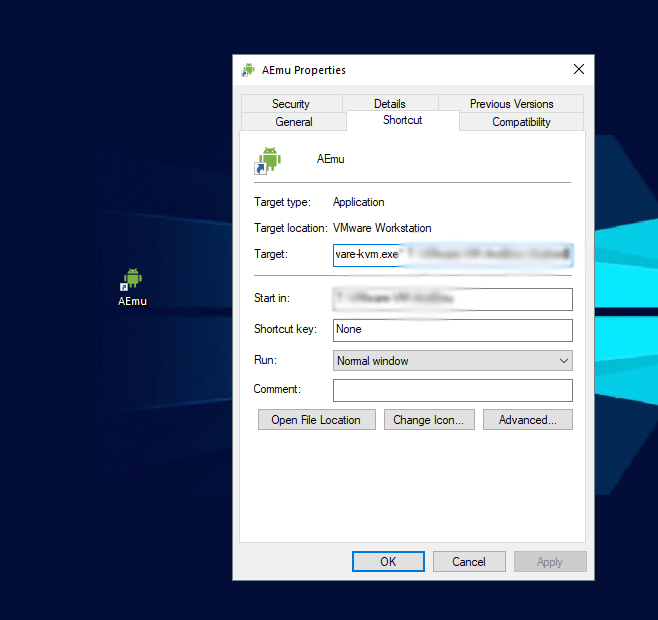
Windows users may create a shortcut of the VM and launch it with VMware KVM (Included with Player) to simplify the whole launch-a-VM thing.

I am regular reader, how are you everybody? This paragraph posted at this web page is in fact fastidious.|
LikeLike
I have read so many content regarding the blogger lovers however this piece of writing is in fact a fastidious post, keep it up.|
LikeLike
Thank you for the auspicious writeup. It in fact was a amusement account it. Look advanced to more added agreeable from you! By the way, how could we communicate?|
LikeLike
Peculiar article, just what I was looking for.|
LikeLike
I think the admin of this web page is truly working hard in support of his web site, since here every data is quality based stuff.|
LikeLike
Good day I am so grateful I found your blog, I really found you by mistake, while I was researching on Askjeeve for something else, Regardless I am here now and would just like to say thanks a lot for a incredible post and a all round entertaining blog (I also love the theme/design), I don’t have time to go through it all at the moment but I have book-marked it and also added in your RSS feeds, so when I have time I will be back to read more, Please do keep up the awesome job.
LikeLike
Hi colleagues, good paragraph and pleasant arguments commented at this place, I am actually enjoying by these.|
LikeLike
Excellent article! We will be linking to this particularly great article on our site. Keep up the great writing.|
LikeLike
Why visitors still use to read news papers when in this technological globe everything is accessible on net?|
LikeLike
Hi all, here every one is sharing these knowledge, so it’s nice to read this web site, and I used to pay a quick visit this web site daily.|
LikeLike
Greetings! Very helpful advice in this particular post! It is the little changes that will make the greatest changes. Thanks for sharing!|
LikeLike
Really informative article post.Really thank you! Great.
LikeLike
I value the post. Really Cool.
LikeLike
Hello, after reading this amazing paragraph i am too delighted to share my knowledge here with friends.|
LikeLike
Amazing! This blog looks just like my old one! It’s on a totally different topic but it has pretty much the same page layout and design. Great choice of colors!|
LikeLike
Really enjoyed this article.Thanks Again. Keep writing.
LikeLike
I loved your blog.Thanks Again. Keep writing.
LikeLike
Wow, awesome weblog format! How lengthy have you been running a blog for? you make running a blog glance easy. The whole look of your web site is great, let alone the content!
LikeLike
That is really interesting, You’re an excessively professional blogger. I’ve joined your feed and sit up for searching for extra of your wonderful post. Additionally, I have shared your site in my social networks|
LikeLike
This is my first time pay a quick visit at here and i am genuinely impressed to read everthing at alone place.|
LikeLike
For the reason that the admin of this web site is working, no question very quickly it will be well-known, due to its quality contents.|
LikeLike
continuously i used to read smaller articles which also clear their motive, and that is also happening with this piece of writing which I am reading at this place.|
LikeLike
It’s going to be finish of mine day, except before end I am reading this fantastic paragraph to improve my know-how.|
LikeLike
What’s up, everything is going fine here and ofcourse every one is sharing information, that’s genuinely excellent, keep up writing.|
LikeLike
Thank you ever so for you blog.Much thanks again. Awesome.
LikeLike
I have been browsing online more than 2 hours today, yet I never found any interesting article like yours. It is pretty worth enough for me. In my opinion, if all webmasters and bloggers made good content as you did, the net will be a lot more useful than ever before.|
LikeLike
Wow, this article is pleasant, my younger sister is analyzing these things, therefore I am going to let know her.|
LikeLike
Spot on with this write-up, I truly feel this site needs much more attention. I’ll probably be returning to see more, thanks for the information!|
LikeLike
Awesome things here. I am very glad to peer your article. Thank you a lot and I’m looking forward to touch you. Will you kindly drop me a e-mail?|
LikeLike
This is one awesome article post.Much thanks again. Much obliged.
LikeLike
Awesome blog post.Really looking forward to read more. Want more.
LikeLike
Good day! This is my first visit to your blog! We are a team of volunteers and starting a new initiative in a community in the same niche. Your blog provided us valuable information to work on. You have done a extraordinary job!|
LikeLike
Hello everyone, it’s my first pay a visit at this web page, and article is genuinely fruitful for me, keep up posting these articles or reviews.|
LikeLike
Incredible story there. What occurred after? Take care!|
LikeLike
Admiring the dedication you put into your blog and detailed information you provide. It’s good to come across a blog every once in a while that isn’t the same out of date rehashed material. Fantastic read! I’ve bookmarked your site and I’m including your RSS feeds to my Google account.|
LikeLike
Hello There. I found your blog using msn. This is a very well written article. I’ll be sure to bookmark it and return to read more of your useful info. Thanks for the post. I’ll definitely comeback.|
LikeLike
This page truly has all of the information and facts I wanted concerning this subject and didn’t know who to ask. |
LikeLike
Hi, I just looked at your blog and really impressed by it’s design and content. You are doing an excellent job by providing such data to the people. Thank you so much.
LikeLike
Hi I am so delighted I found your blog, I really found you by error, while I was searching on Bing for something else, Anyways I am here now and would just like to say cheers for a tremendous post and a all round exciting blog (I also love the theme/design), I don’t have time to browse it all at the minute but I have book-marked it and also added in your RSS feeds, so when I have time I will be back to read much more, Please do keep up the excellent b.|
LikeLike
What’s up to all, how is the whole thing, I think every one is getting more from this web page, and your views are good in favor of new users.|
LikeLike
It’s amazing to go to see this site and reading the views of all colleagues about this post, while I am also eager of getting familiarity.|
LikeLike
It’s perfect time to make some plans for the future and it’s time to be happy. I’ve read this post and if I could I wish to suggest you some interesting things or suggestions. Maybe you could write next articles referring to this article. I want to read even more things about it!|
LikeLike
This article is really a fastidious one it assists new internet users, who are wishing in favor of blogging.|
LikeLike
Great website you have here but I was curious about if you knew of any user discussion forums that cover the same topics discussed here? I’d really like to be a part of community where I can get advice from other experienced individuals that share the same interest. If you have any suggestions, please let me know. Thank you!|
LikeLike
I must thank you for the efforts you’ve put in penning this blog. I’m hoping to view the same high-grade blog posts from you in the future as well. In fact, your creative writing abilities has inspired me to get my own site now ;)|
LikeLike
Wow, amazing weblog structure! How long have you been blogging for? you make running a blog look easy. The overall glance of your web site is wonderful, as well as the content material!
LikeLike
Keep this going please, great job!|
LikeLike
It’s going to be end of mine day, however before finish I am reading this great article to improve my know-how.|
LikeLike
I’m not that much of a internet reader to be honest but your sites really nice, keep it up! I’ll go ahead and bookmark your site to come back in the future. Many thanks|
LikeLike
Hi there! Someone in my Facebook group shared this site with us so I came to give it a look. I’m definitely enjoying the information. I’m bookmarking and will be tweeting this to my followers! Wonderful blog and great design.|
LikeLike