With many emulators in the market, only a few get the “Medal of Compatibility”. People tend to stick to these popular ones without bothering to try new ideas. From the most common Bluestacks to the least common KOPLAYER, have varying features. Although they all do the same thing.
An unpopular addition to the Android Emulation range would be YouWave. Most people don’t care about it because (well mainly because of that and also it’s a little unresponsive and less user friendly!) it can’t play any ARM apps ‘cause it doesn’t have Native-Bridge. I would recommend YouWave to anyone interested in developing android apps or you just wanna try out something that could break your device. with that said, many people want to go for the paid version of YouWave (Here’s the link to get paid free). I’d recommend you to, but you might not be able to (Pro only supports 64-bit). So here’s how to get Lollipop or even Marshmallow (haven’t tried) on YouWave for free! (It’ll also give you ability to play ARM code!)
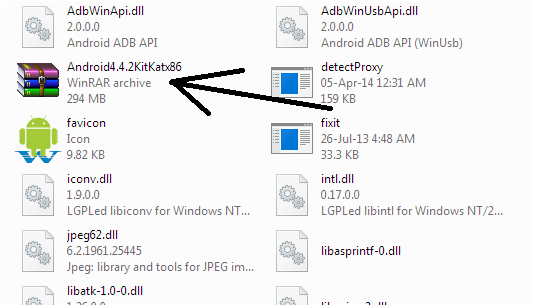
|Android x86|- Get an android x86 32-bit image (I’d recommend Jellybean or KitKat OR Lollipop if you want NativeBridge) PS; if you don’t know what Android x86 is, it’s a porting of android to x86 based PCs (read about it here)
First uninstall VirtualBox (if you have it installed!) then install YouWave. Press around in YouWave if you want to. Then adjust screen resolution of YW to 800×600 (compulsory)
Close YW. Go to the installation directory of YouWave, find the file “youwave_vm01.iso” and rename it as “youwave_vm01old.iso” (ISO is just the extension!).
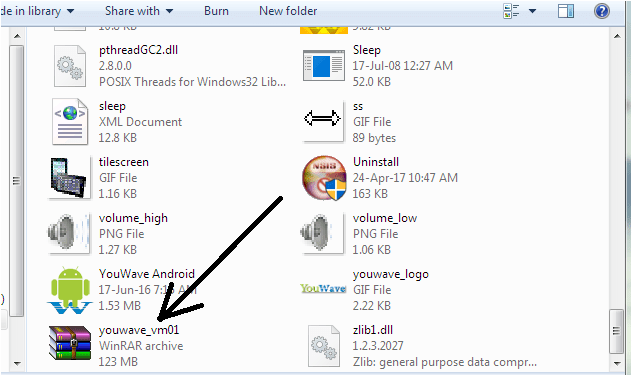
Copy the Android x86 ISO file you downloaded and paste in YouWave install folder. Then rename it to “youwave_vm01.iso” (ISO just extension!).
Then start YouWave. You should be greeted by this:
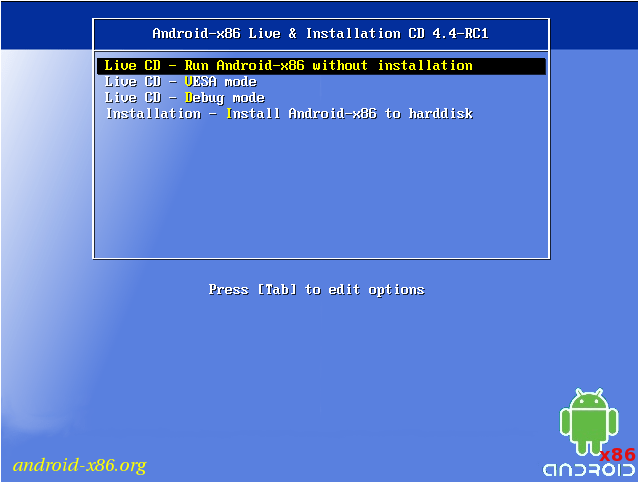
In the above screen select the first option (Run without installation). You should boot up just fine. And then change a few settings and reboot YouWave. Select the first option again and see if all the settings you saved are there. If not, try the last option (install to HDD). [HDD select > Do Not Format > Install Grub YES > EFI Grub 2 SKIP > Read Write System YES > Android x86] after setting up new android, rename that Android x86 ISO file in YouWave directory to “youwave_vm01old2” and boot YouWave. Everything should be fine.
You can do this to any version of android. The commands should be the same to install files and such. Any resolution above 640 x 480 is OK. Enable NativeBridge in App Compatibility in Settings if you want to get ARM emulation (only for Lollipop and above).
You cannot use YouWave ISO with any other virtualization software!

You must be logged in to post a comment.