Ever noticed how most of the commercial Android emulators are seemingly stuck at KitKat? Sure, there are a few that run higher like YouWave 5.1, Genymotion, BlueStacks N, etc. but they all use VirtualBox and, as we have found out, VB sucks when you compare it with the big players. So you’re better off with making your own emulator. “How” you ask? Well that’s what we’ll be covering today!
If you don’t know the wonderful people at Android x86 –who are the real spirit behind all the commercial folk- go there and check ‘em out. Anyway, what’ll we will be doing today is installing Android on a VMware Workstation VM (FIY: VMware > VirtualBox 🙂 ), but if you have a slow PC (2GB> RAM, Old CPU etc.) go with installing Android on your native hardware, it’ll be lots faster than running a VM on that junk. By the way; all the commercial emulators are really Android VMs anyway, so you’ll be installing a better version of Android than those emulators ;-).
However there are a few prerequisites before you make an Android Emulator. You’ll need a processor capable of hardware virtualization (Intel VT-x / AMD-V), a host PC with 3GB or more RAM, 20GB free disk space (a desktop with multiple drives (or an SSD) or a laptop with an SSD is recommended), VMware Workstation Player or (VMware Fusion if you’re a Mac user), a (32-bit) distro of Android x86.
When you get VMware Fusion or Player: the latest version 14 (Player) or 10 (Fusion) requires a Sandy Bridge (Intel Core-i 2nd Gen or better) OR AMD Bob Cat or better processor. If your machine doesn’t meet these requirements, you’ll have to use Player 12 or Fusion 8 instead.
|VMware Workstation Player |14| |12|
|VMware Fusion |10| |8|
Picking a good, stable distro of Android x86 is of paramount to the success of this mission. If you would like to pick manually, keep in mind that you’ll need to pick one that is stable (in “Release” stages), and has proper hardware acceleration features. But to make your life painless, I’ve picked the best ones for you (all these are 32-bit (except the PhoenixOS one) ISO installation images):
|Android 6.0.1|
|Android 7.1.2|
| RemixOS(Android M) 3.207|
|PhoenixOS 1.5 (Android L 32-bit) | PhoenixOS 3.0 (Android N 64-bit)|
|Lineage OS 14.1|
|CyanogenMod 13.1|
Now that you’ve gotten all you need, let’s start. First, install the VMware product. Next, check whether you have an SSD, and check how many disk drives you have (by going to DiskManager), if you have no SSDs but have more than one Hard Drive or if you’ve got one SSD, you’ll see some major performance perks. But if all you’ve got is one Hard Drive, you may attempt to make the emulator, but keep in mind that speeds will decrease.
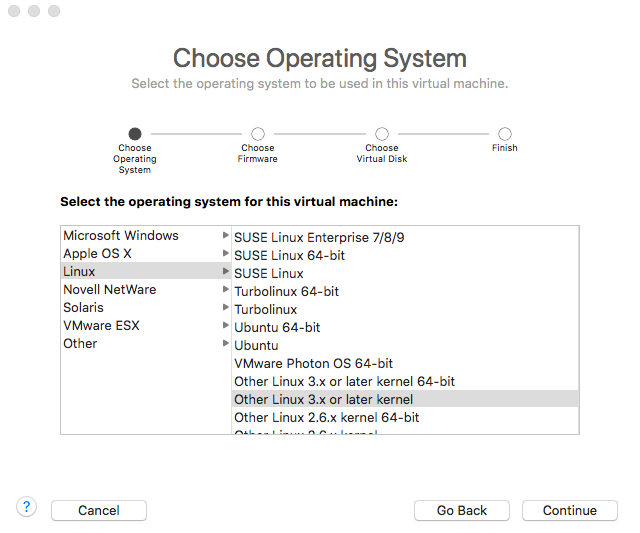
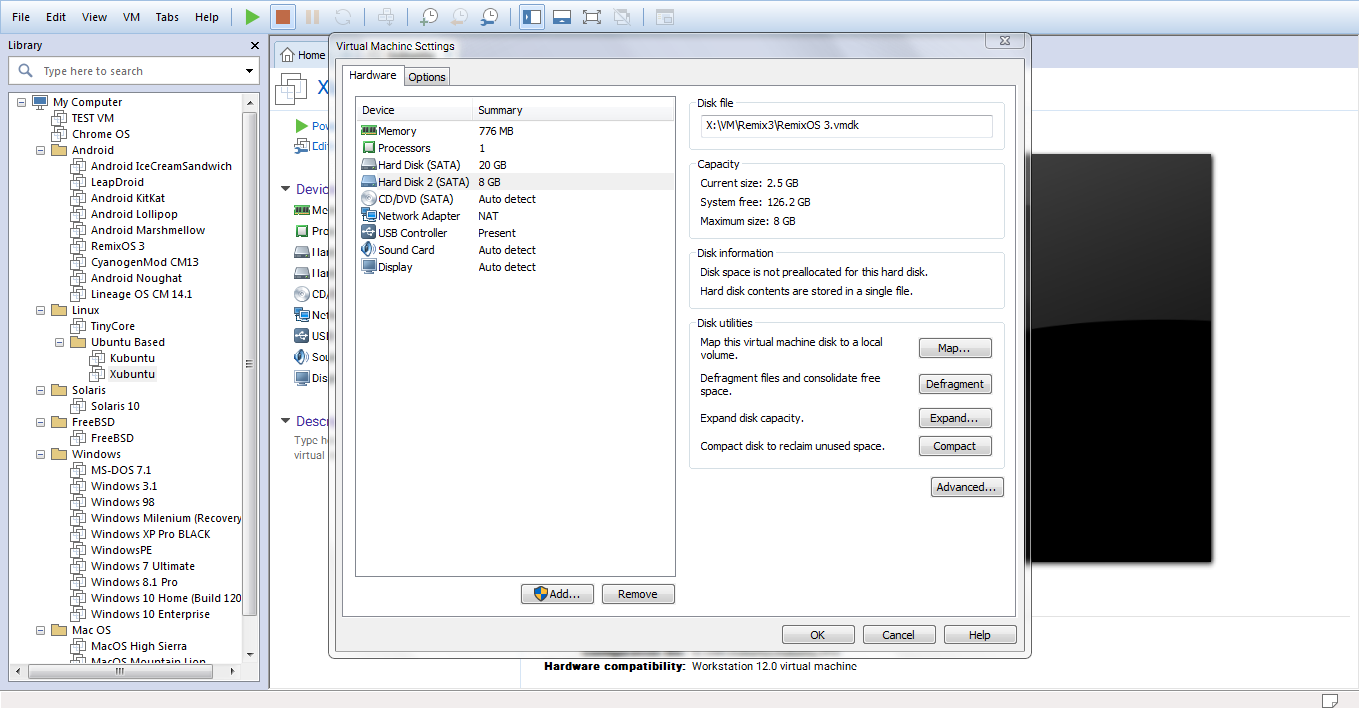
Open VMware Player/fusion and create a VM with the following characteristics: Guest OS “Linux 3.x kernel”,

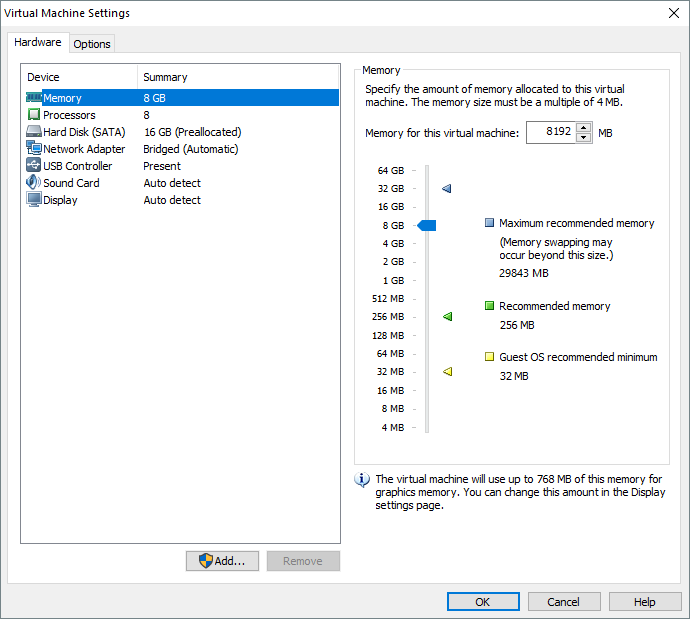
1.5GB-5GB RAM (As a rule of thumb, leave at least 1.5GB of RAM for the host operating system and allocate the remaining amount to the VM),
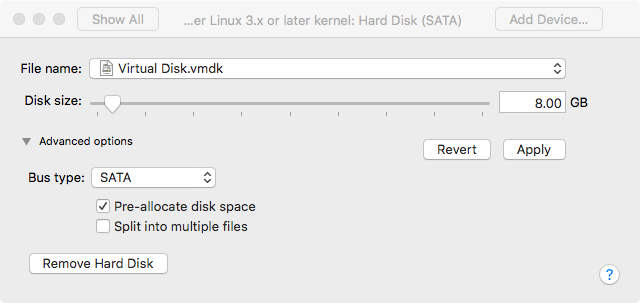
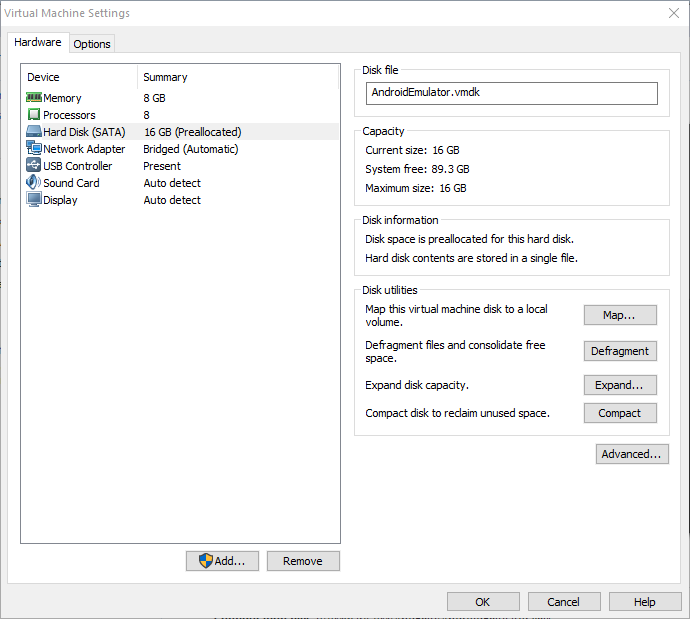
16GB (Pre-Allocated) SATA Drive (if you happen to have multiple hard disk drives, place the image in a non-system drive OR on an SSD if you have one. But never on an external hard drive, unless you use a Thunderbolt port),
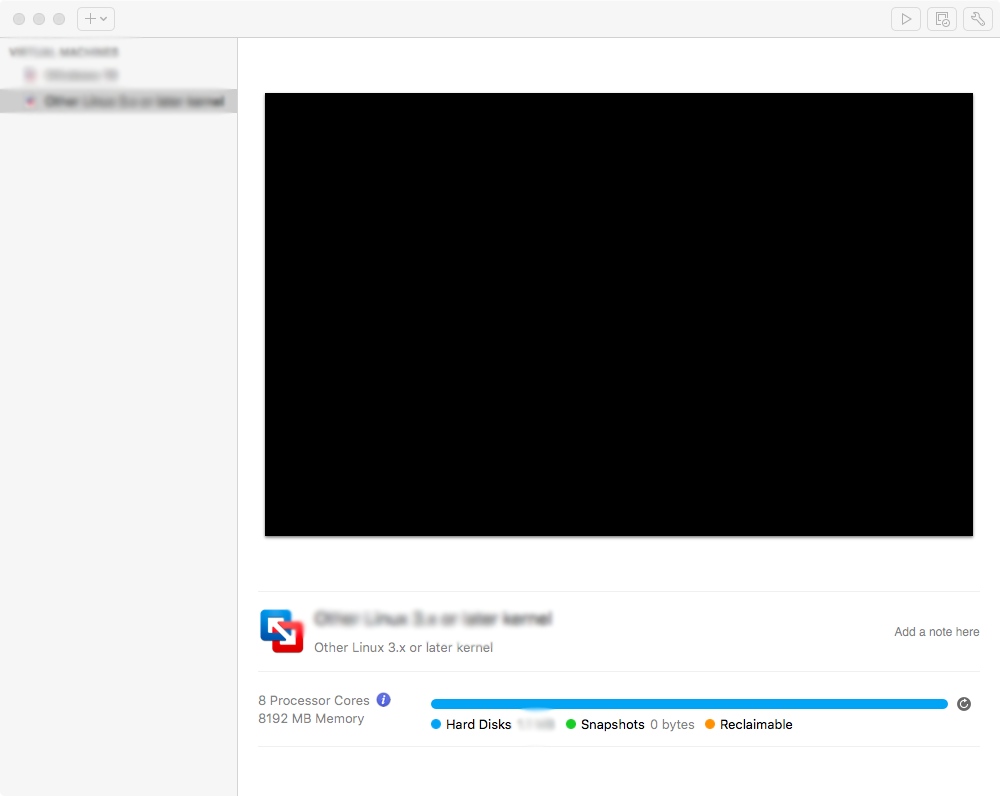
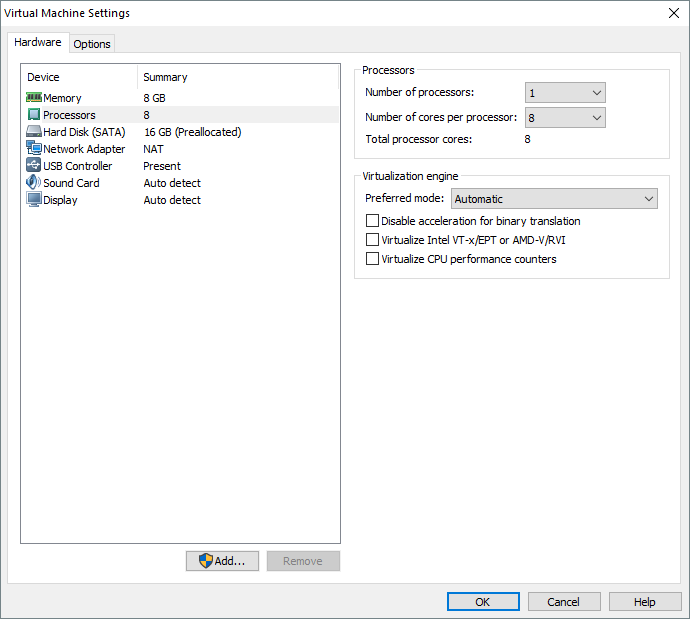
2 or more Cores/Threads (the core count is really not a problem, the more the merrier! Just make sure you leave at least one Core/Thread for the host OS. Since most newer PCs have 2 Cores (and at least 4 logical cores/threads thanks to HyperThreading), allocate 2 Cores to the VM).
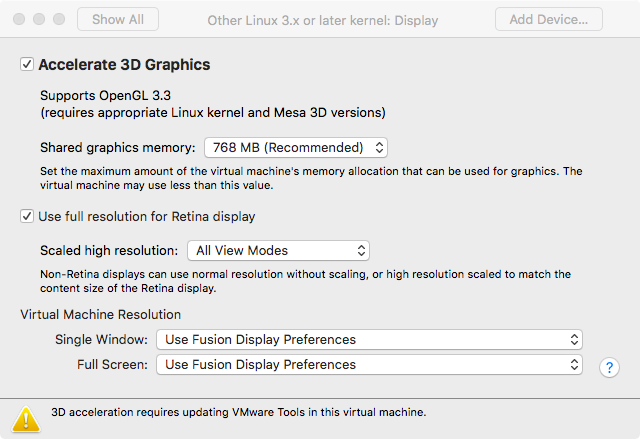
Once you create the VM, head over to display and enable “Accelerated 3D Graphics” and assign 64-256MB of “Graphics Memory”.

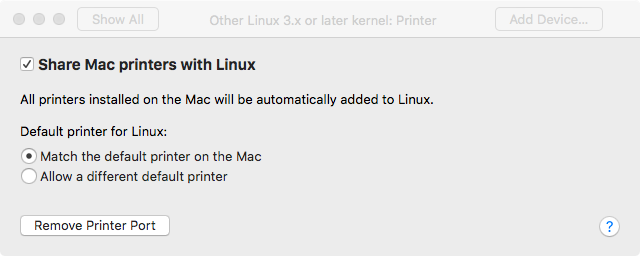
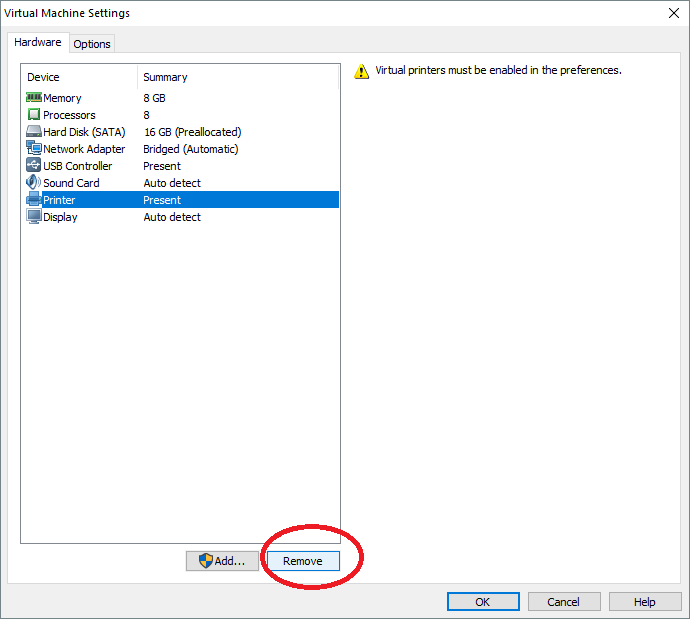
Remove the printer.
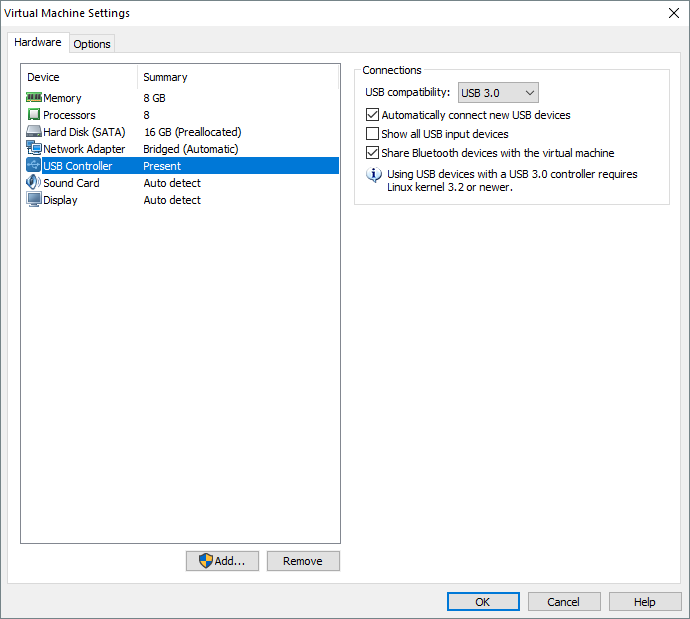
Set USB driver to “USB 3.0”
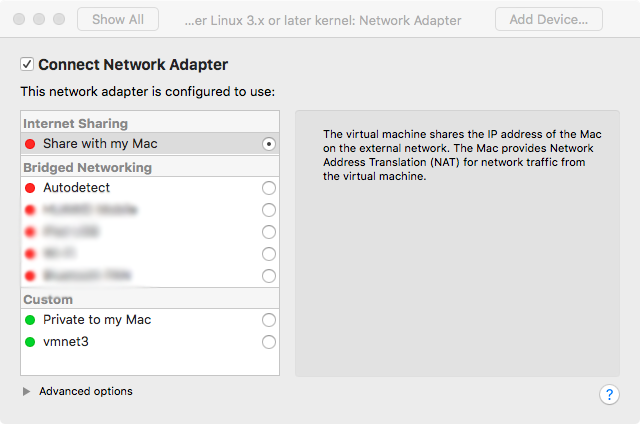
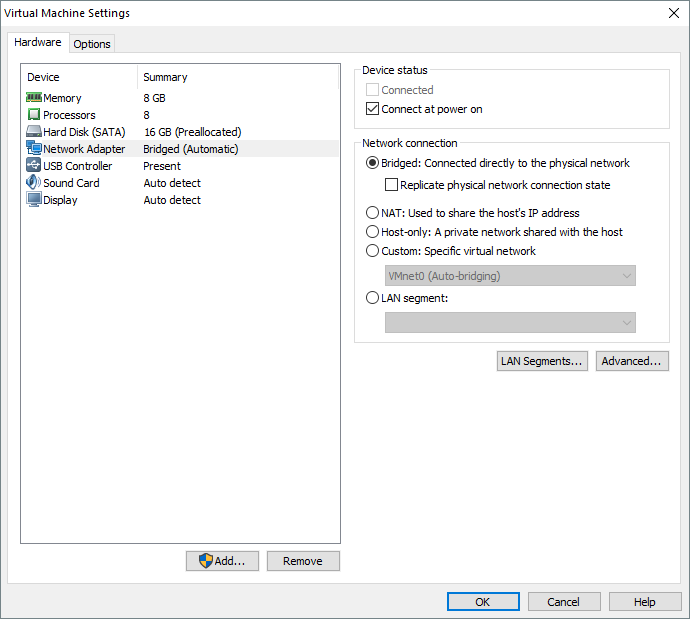
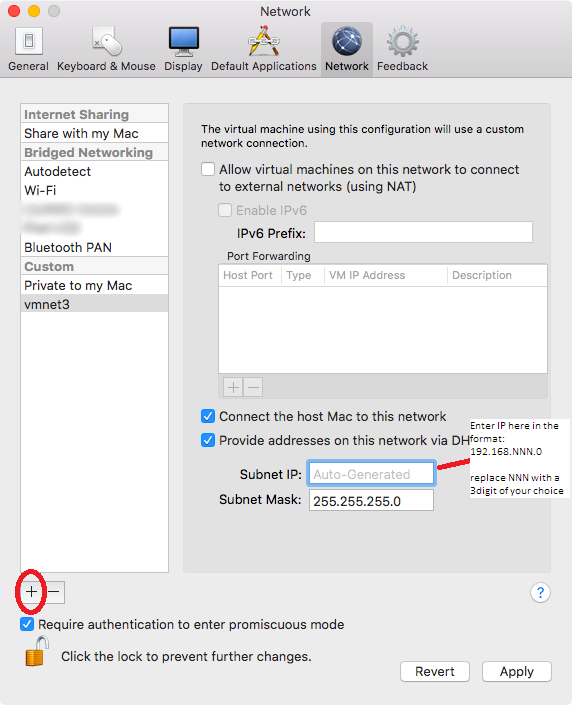
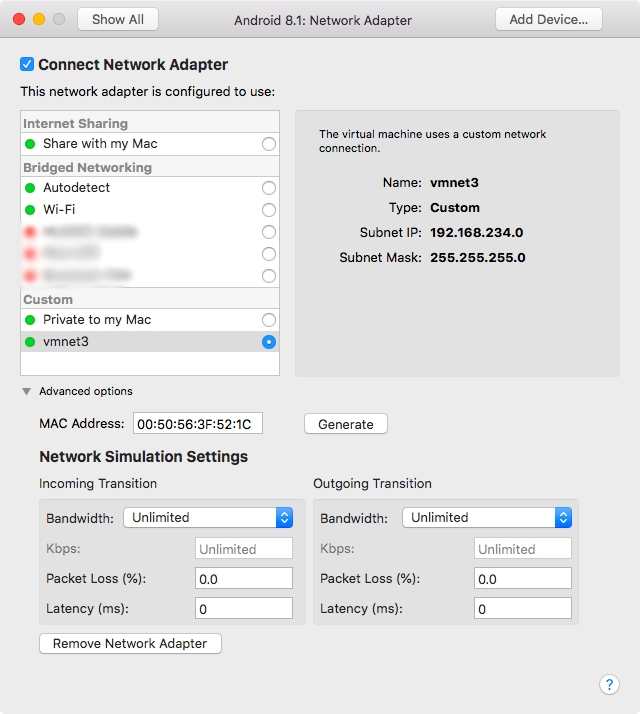
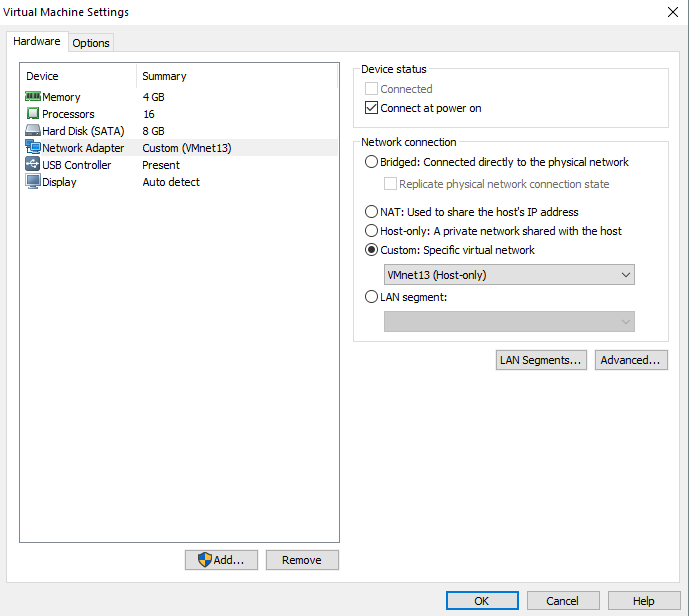
Set network adapter to NAT (for Internet access) and set it to “Connected at power on”
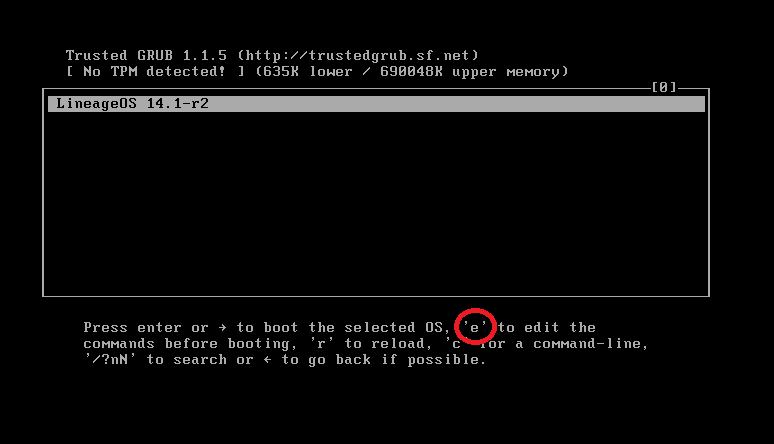
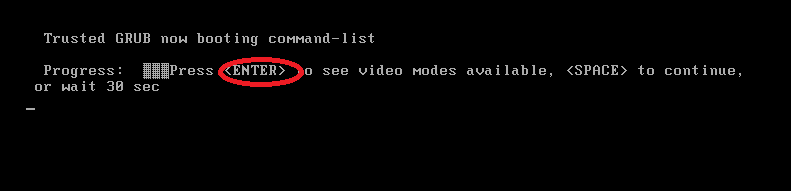
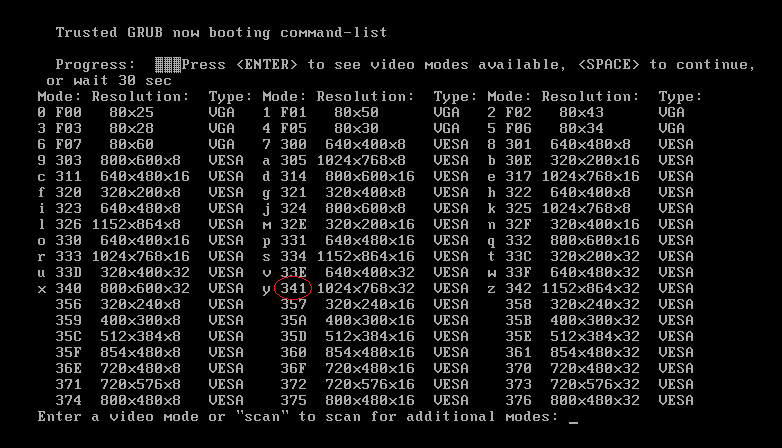
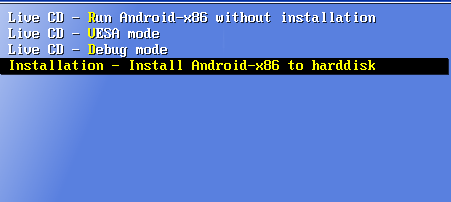
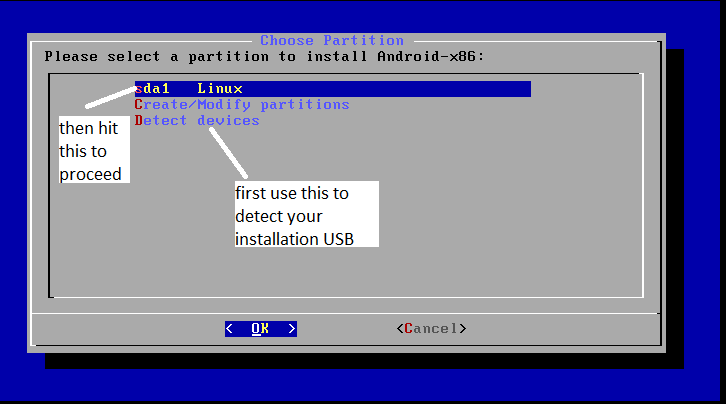
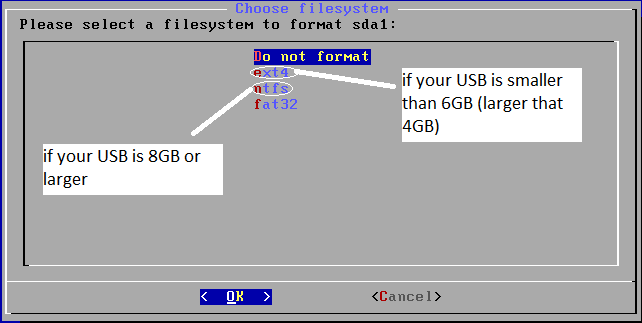
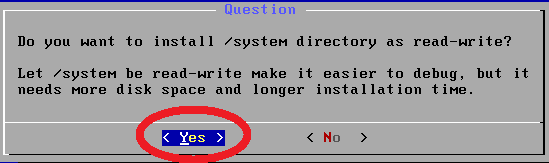
Attach the Android x86 ISO, power-on the VM and install Android x86 according to the instructions here. But remember not to select “Run Android x86” and instead select “Reboot”. When you reboot to the GRUB screen, power off the VM.
Remove the CD Drive from the VM. And power it on. You may switch to full screen mode. After a few minutes you’ll be presented with the setup screen. Go through the setup normally.
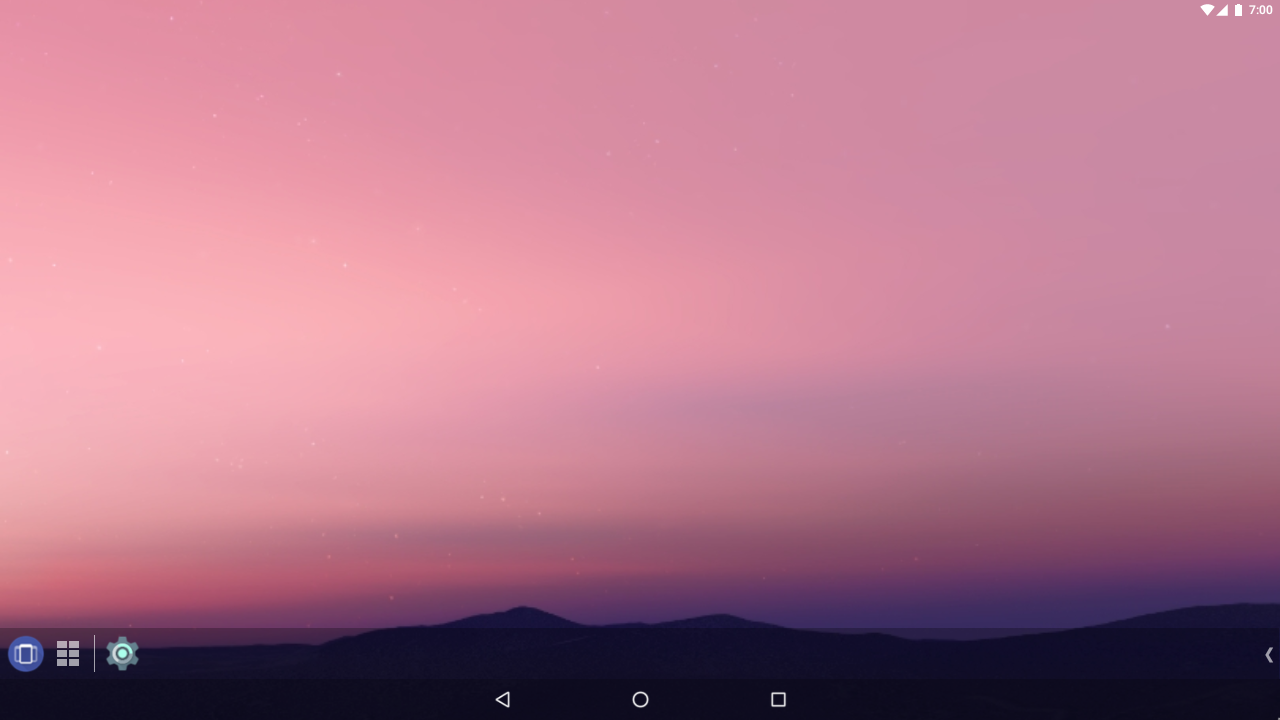
When you are greeted with the Android home screen, you’ll know it’s all done! Enjoy 🙂
In order to maximize performance, boost productivity and enjoy the damn thing, you may follow these steps.
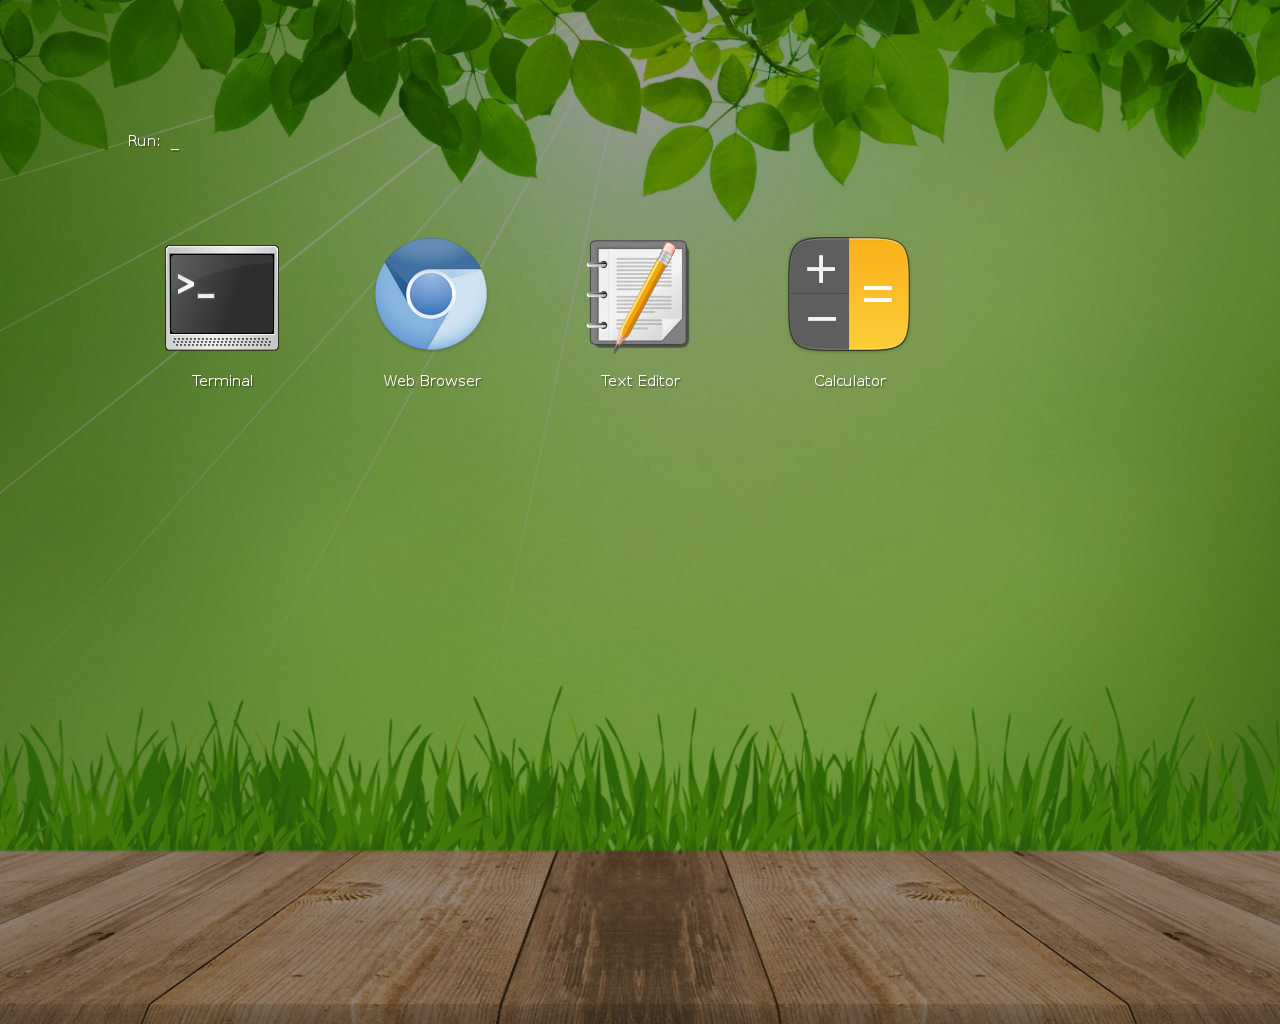
Get/Enable Taskbar (if you’re using Android 6.0.1 or CM 13.1) and enjoy desktop-like Android computing (with windows and stuff).
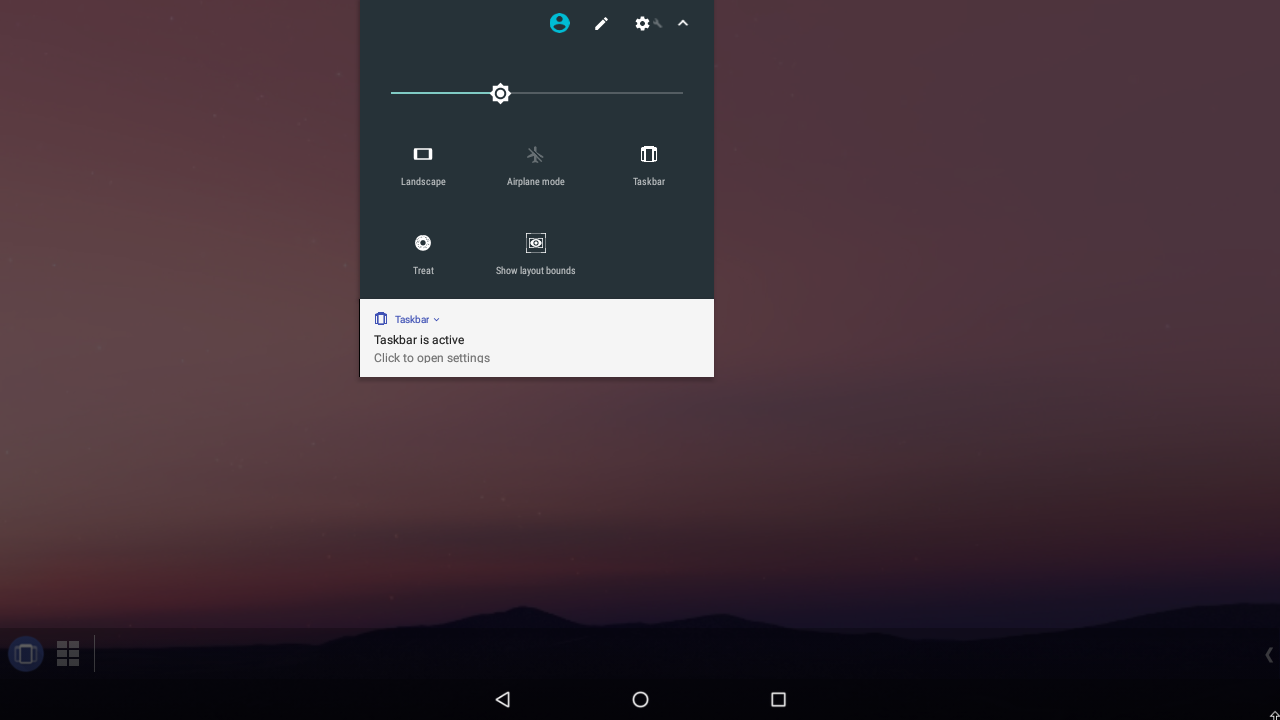
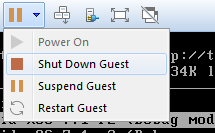
There is no shutdown button in AOSP android, so Taskbar’s “Power Menu” will come in handy when turning it off.
This slideshow requires JavaScript.
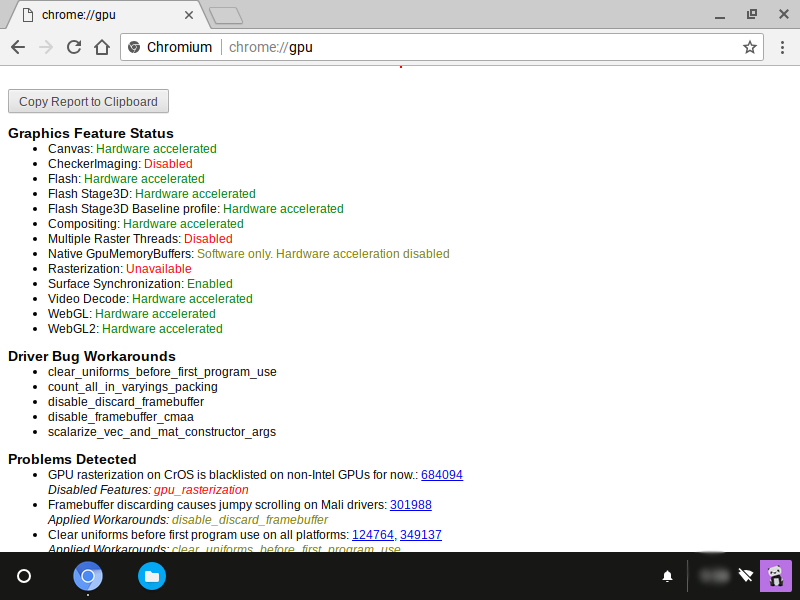
Go to “About” and see if graphics are accelerated (if there’s anything except “null” and “SwiftShader” in GL Renderer, you’re set).

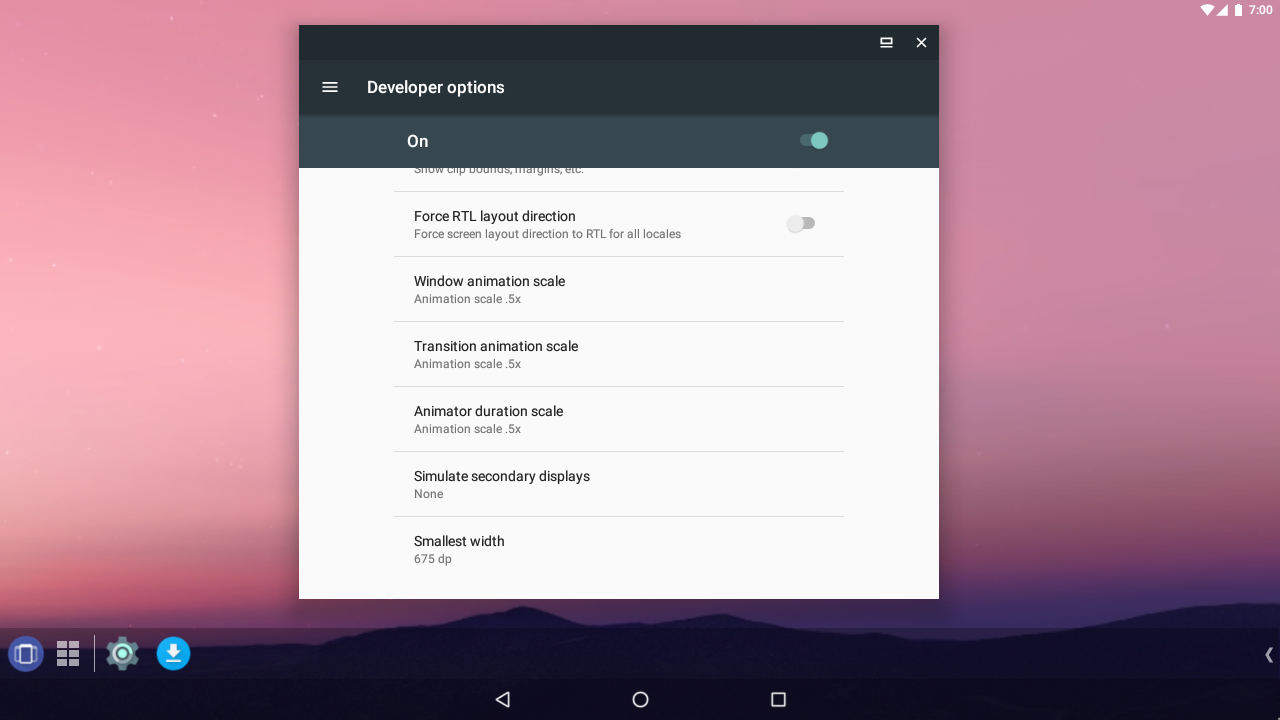
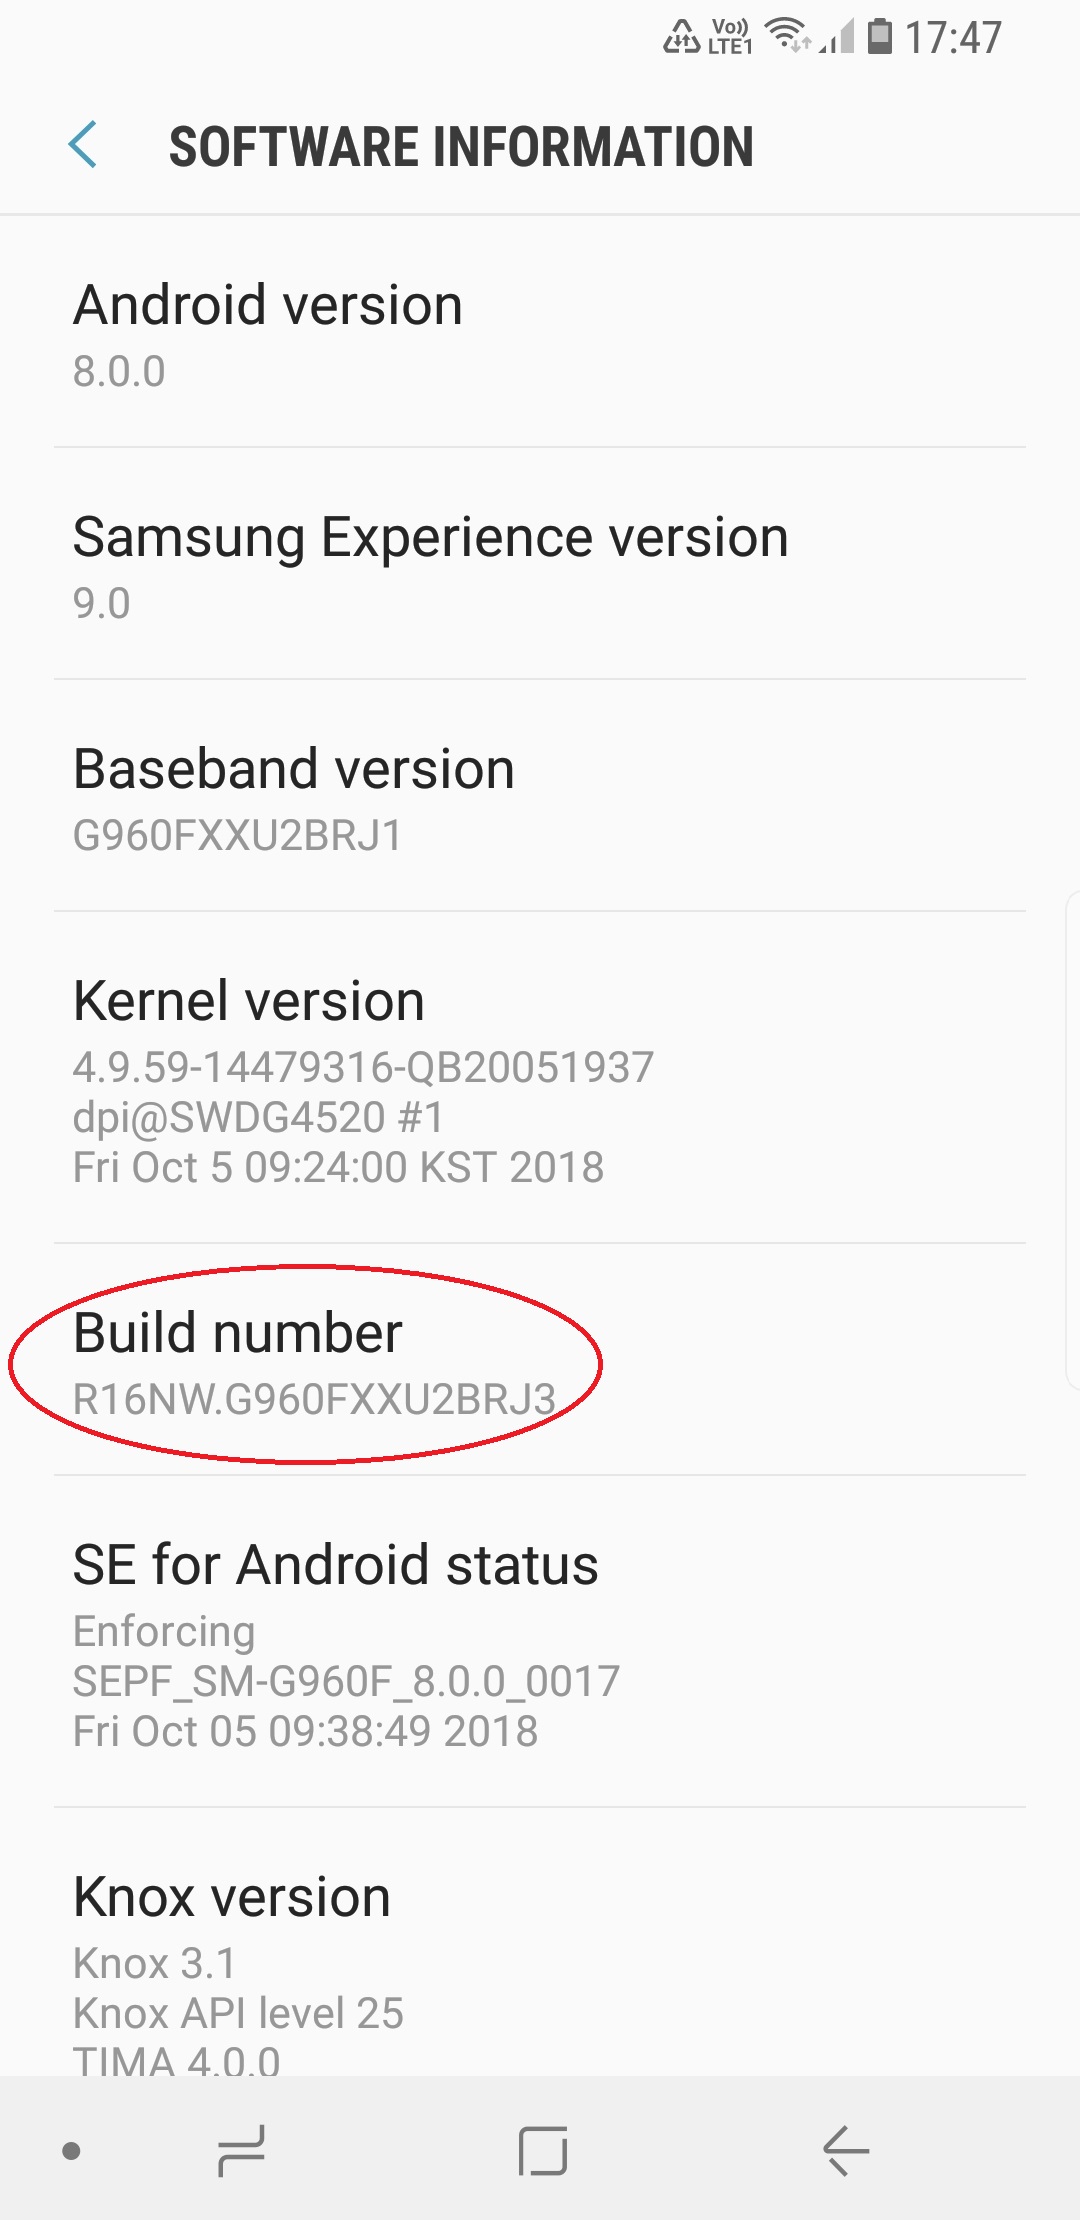
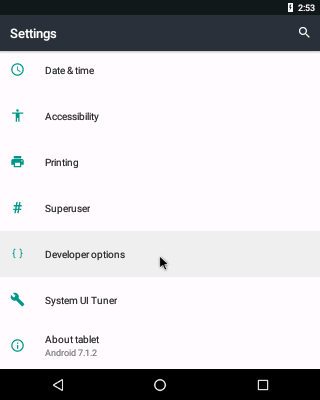
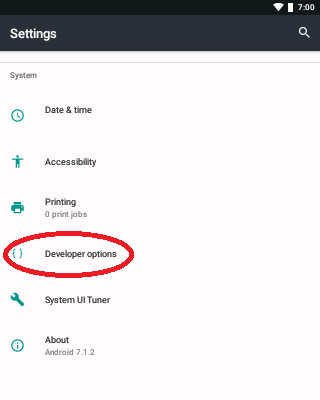
Enable “Developer Options” and lower or disable animations.
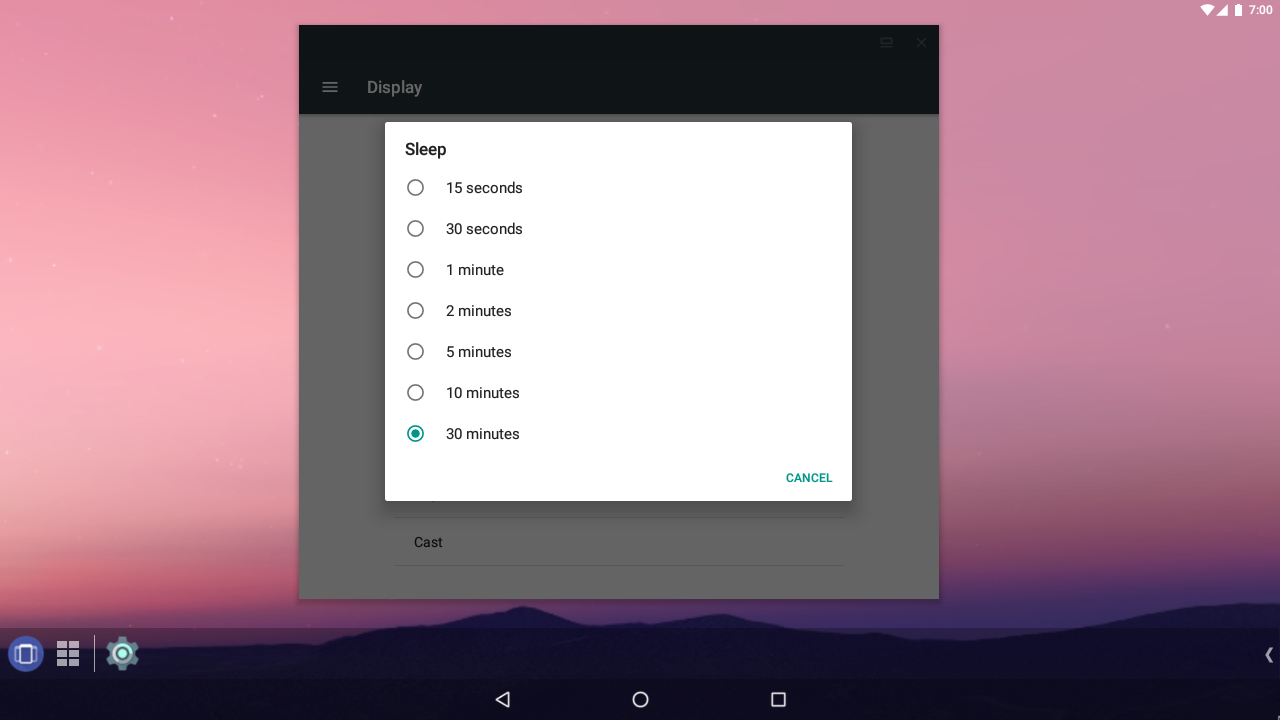
Set the screen timeout to 30 minutes to avoid unwanted sleep in the VM.
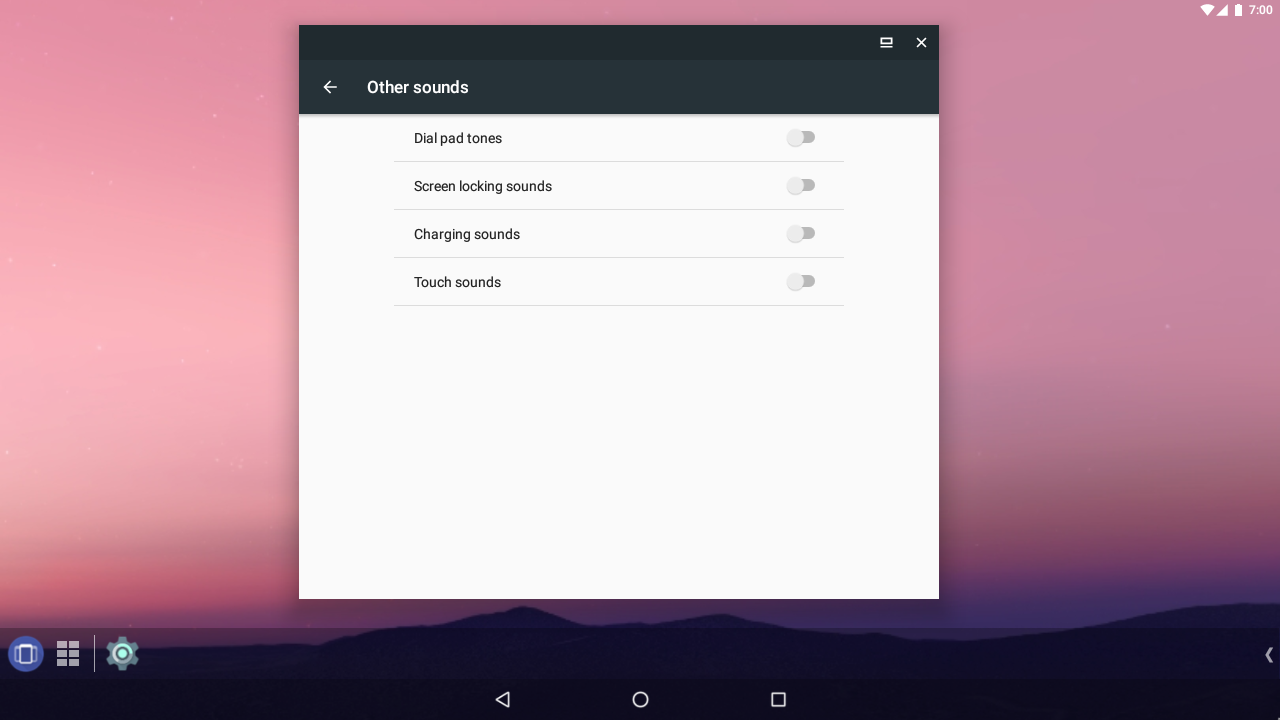
Disable “Other Sounds”.
Obviously you won’t be making any calls with your VM. Disable useless apps.
This slideshow requires JavaScript.
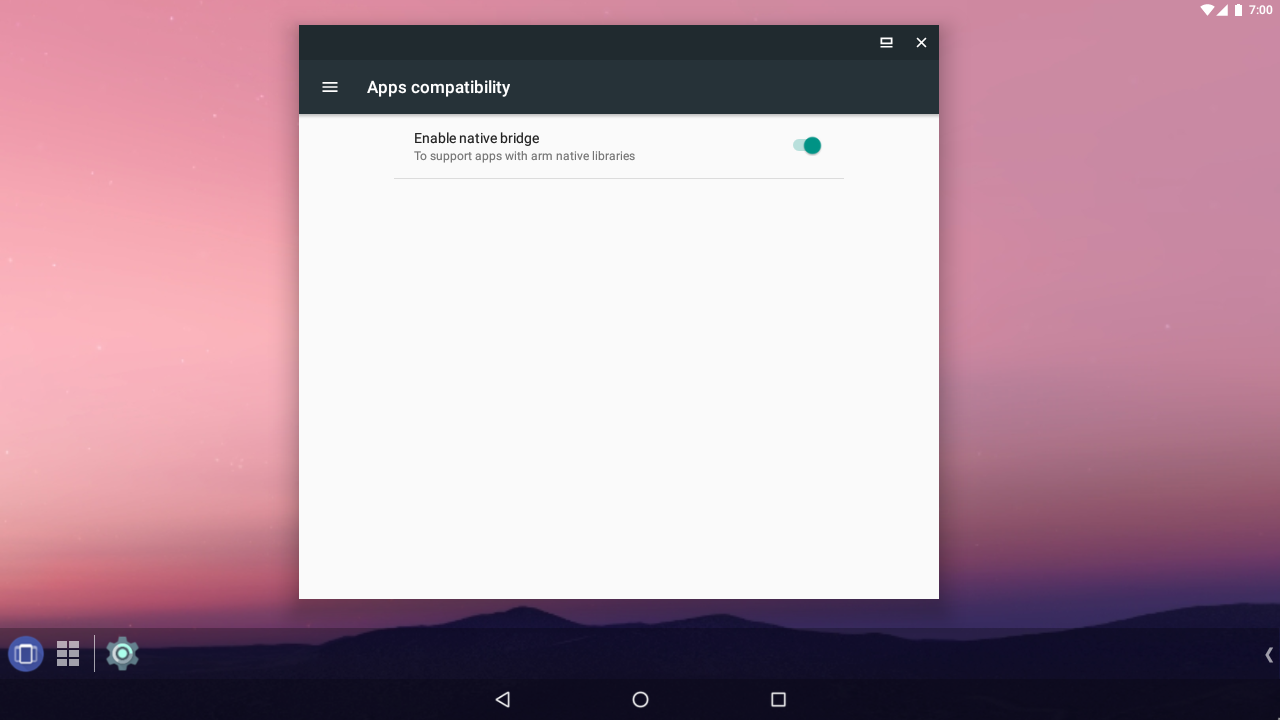
Enable “Native Bridge” to run apps with ARM Native Libraries (Settings > App Compatibility).
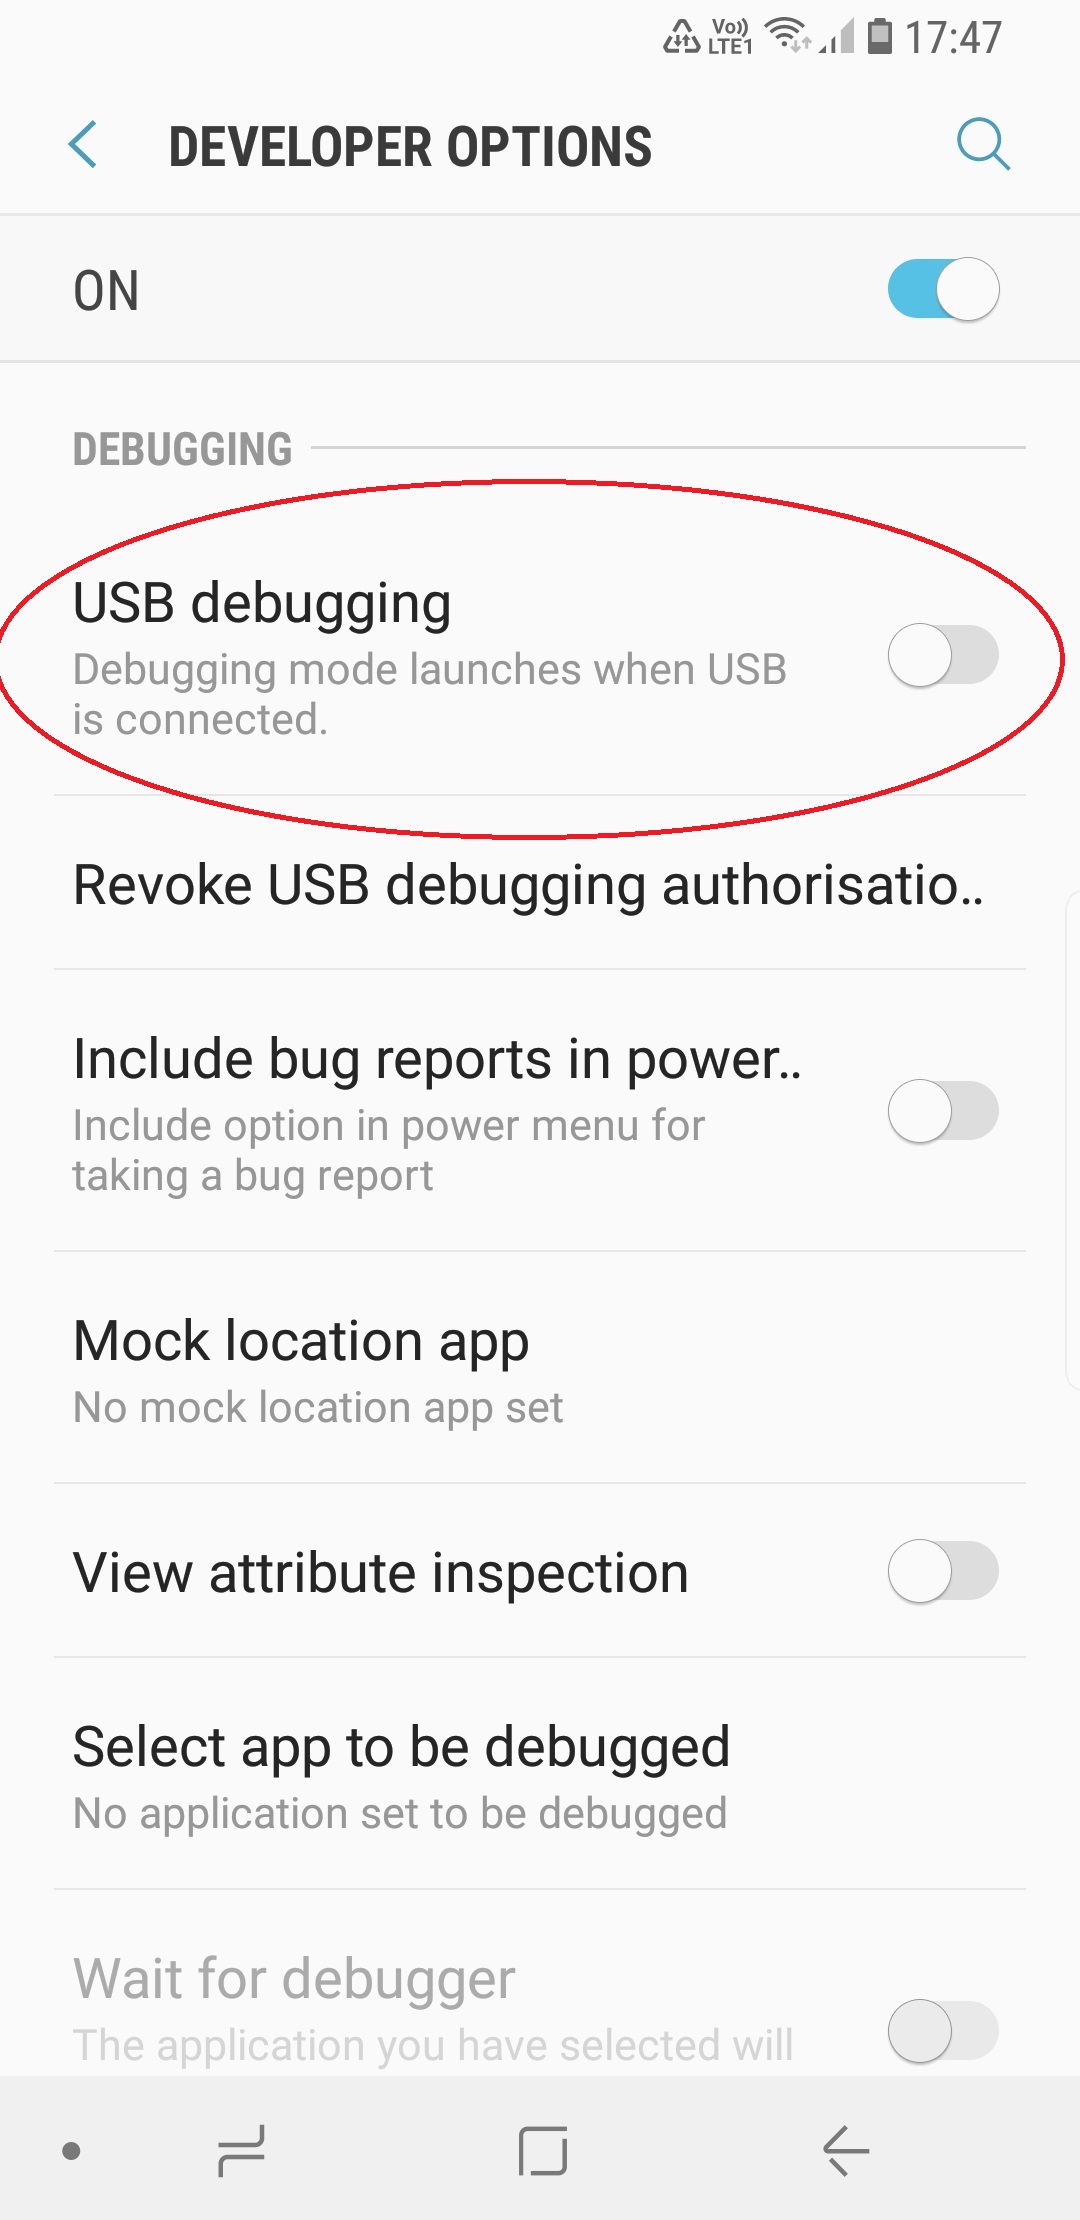
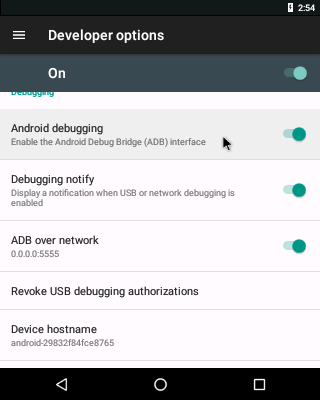
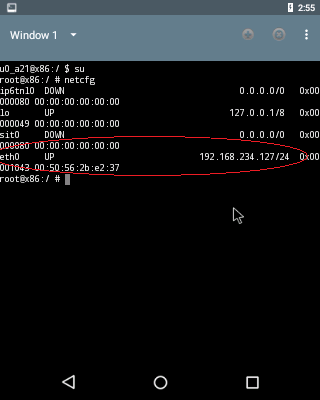
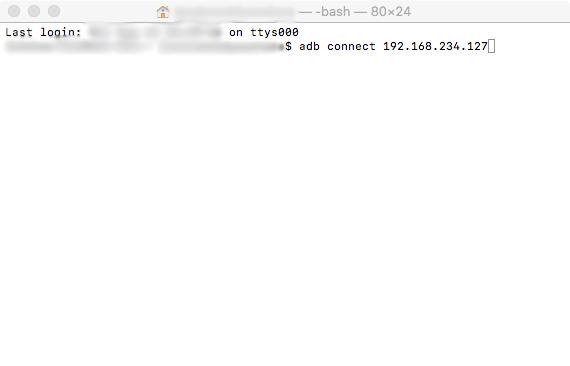
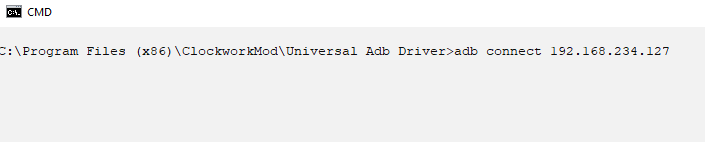
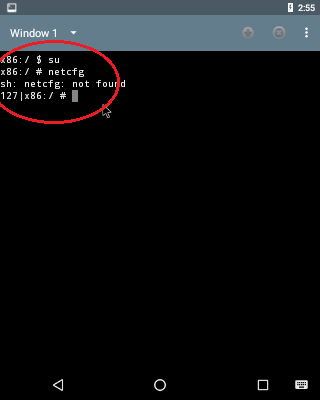
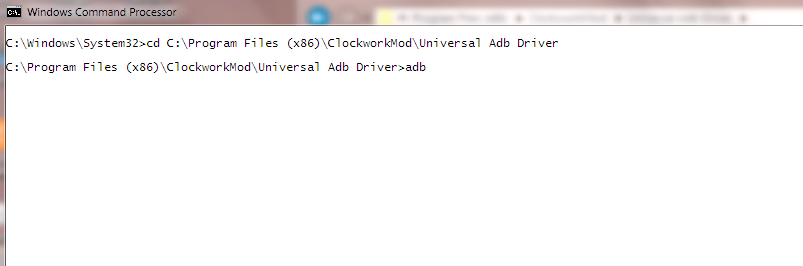
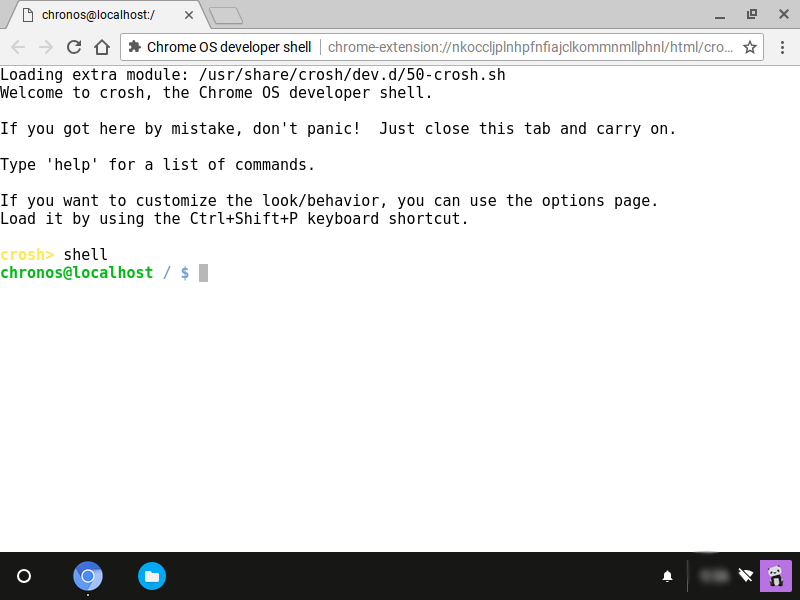
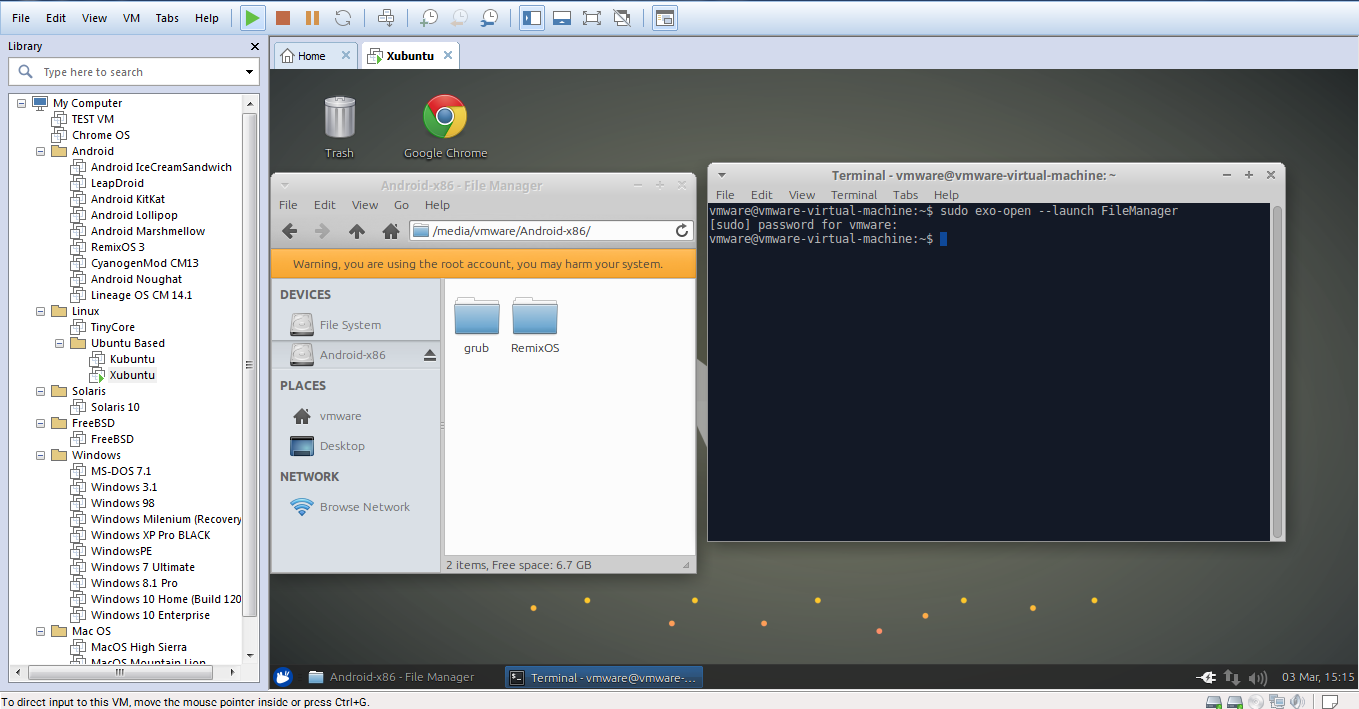
Use ADB to install APK files. Here’s how to make ADB work in a VM.
Install Greenify and hibernate apps frequently to avoid performance issues.
EXTRA
If you used Android N (7.0), and you’re a cat person, enable the “Neko Land” easter egg. Go to settings and tap on Android Version until an “N” appears.
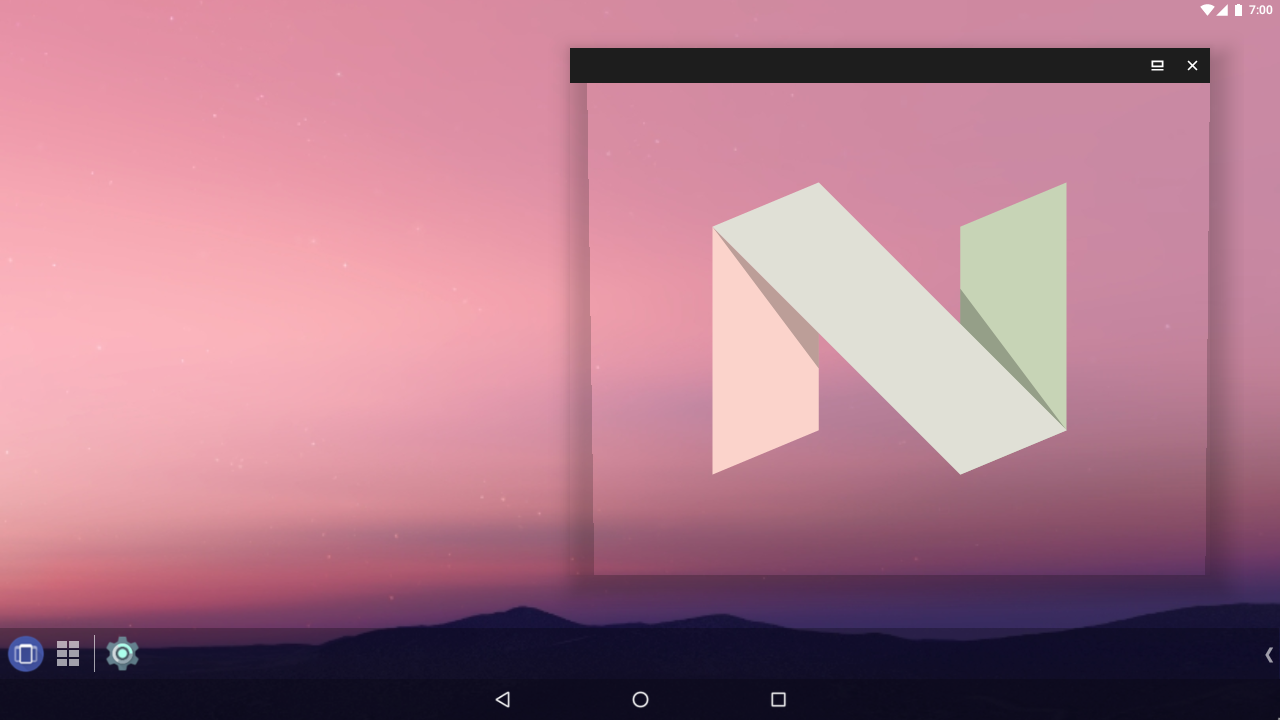
Tapping it a few times and then pressing ad holding it will bring up a small cat. A widget will appear with an empty dish (in the pull-down panel or as a launcher widget). You can tap that dish and keep “food” in it.

After a while, a cat will come to eat the food. There are hundreds of cats to find!

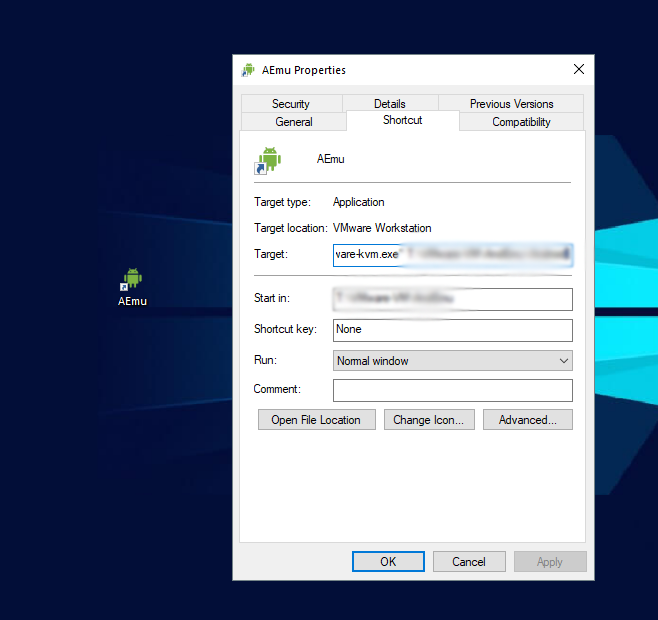
Windows users may create a shortcut of the VM and launch it with VMware KVM (Included with Player) to simplify the whole launch-a-VM thing.


You must be logged in to post a comment.