Many guides tell you how to install that legendary android platform as a VM in a PC. Yet doing so on the much used VirtualBox, you get a “kernel panic” error when VT-x is not available. This guide will teach you how to work around that error (without VT-x).

For this we will ditch that lame VirtualBox, and use a much powerful VMware product.
Stuff needed: 2GB RAM, Dual Core CPU, Android x86 ISO file, VMware-Player,
|Get Android x86| Any version
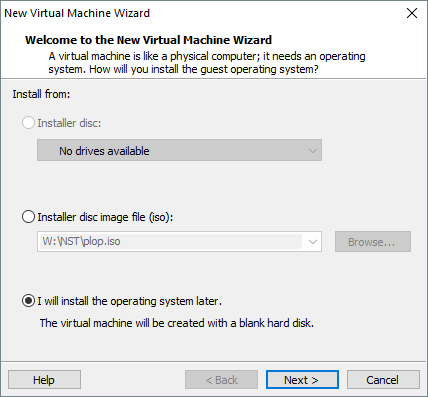
Click Make New VM in the VMware-Player interface. Then tick the last radio button (install OS later)

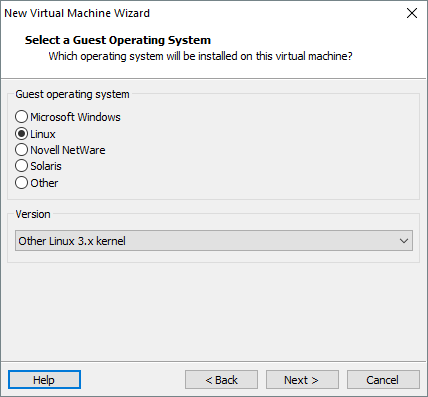
Configure VM as a 2.4 Linux 32-bit
Specify 32MB of VRAM. Enable “Accelerated Graphics”.
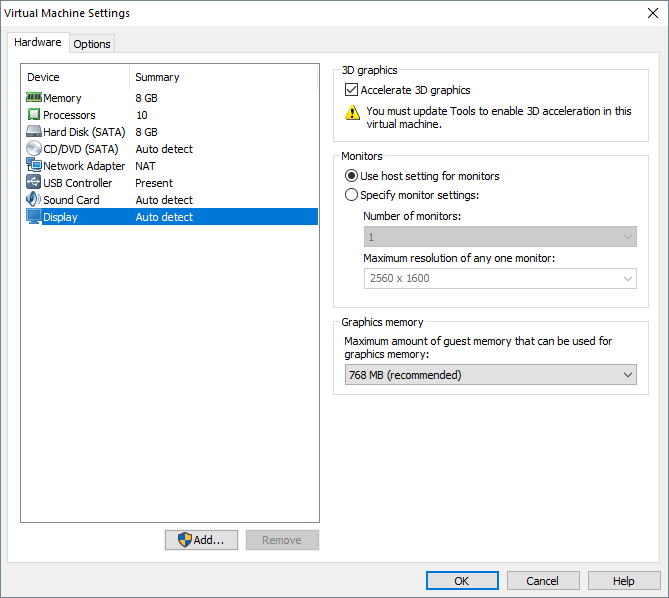
Save all that and then click change VM settings. Change the amount of RAM to something below the “blue” limit (little blue marker specifying the maximum amount of allocatable RAM). Then “Remove” the SCSI HDD. Add a new Dynamic (made larger as more stuff is put into it) 8GB SATA Hard Disk.


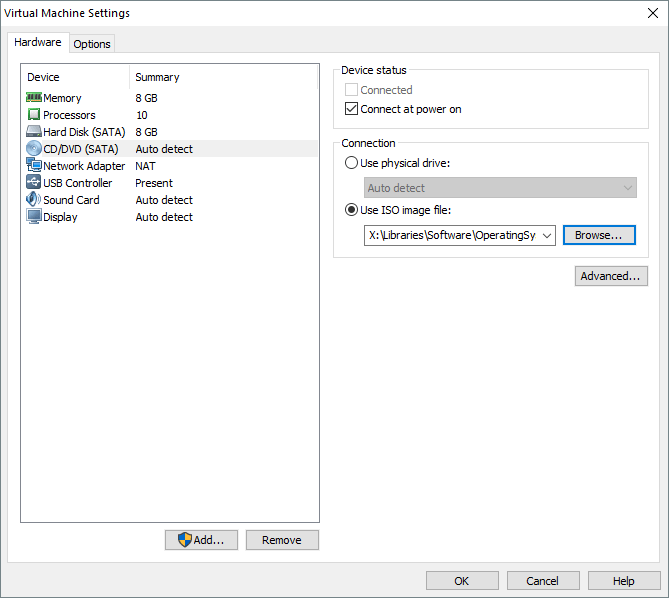
Go to the DVD-disk option and mount the Androidx86 ISO file. Click OK/SAVE. (By the way, don’t set the number of processors to 8 or the RAM to 8GB. Set the no. of processors to 1 and RAM as specified above).
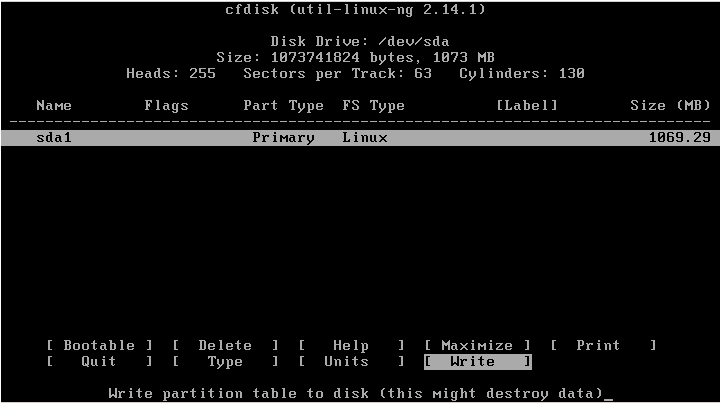
Start the VM. (You shouldn’t get kernel panic) click your mouse anywhere inside the VM window and Chose the install android option. Chose Modify/Create Partitions. Chose no GPT. Make new partition. Make sure to use the Write option once you’re done making the partition. Also don’t make Bootable. Then click quit.
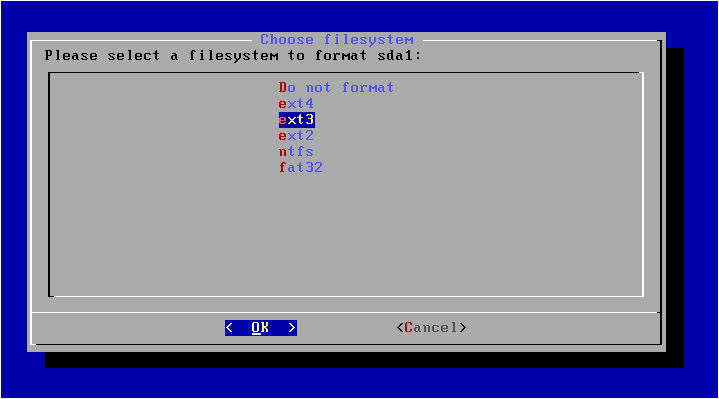
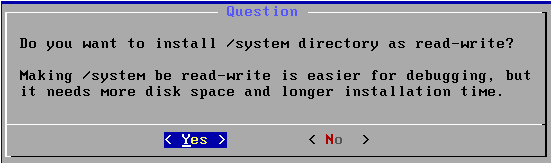
Once all that’s done, click the topmost option and Format HDD to ext3. Then click Yes to install GRUB and Skip to EFI GRUB2.


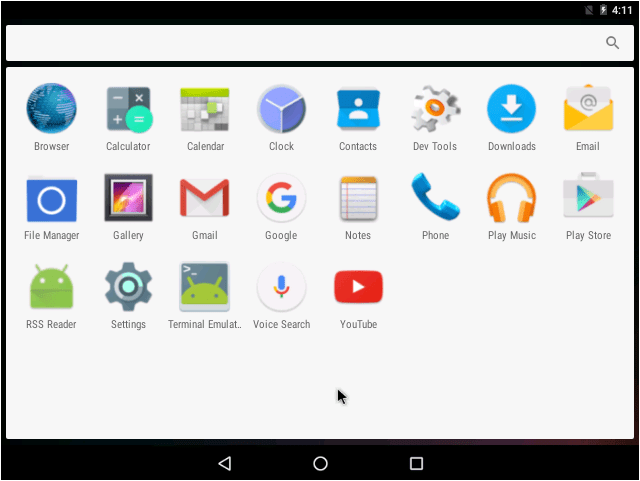
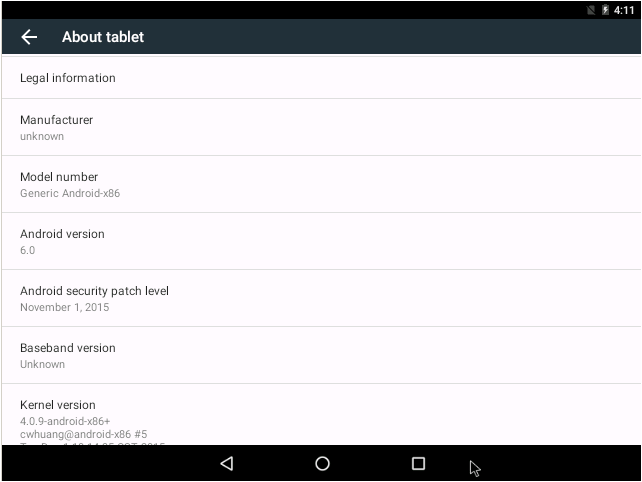
Wait till it’s done installing then click Reboot on the screen below. You will successfully boot to android.
Note: Once the installation is finished, remove the CD Drive from the VM.
Small Print: you can’t do this in VB without VT-x. You can also do this on any VMware products.

You must be logged in to post a comment.